
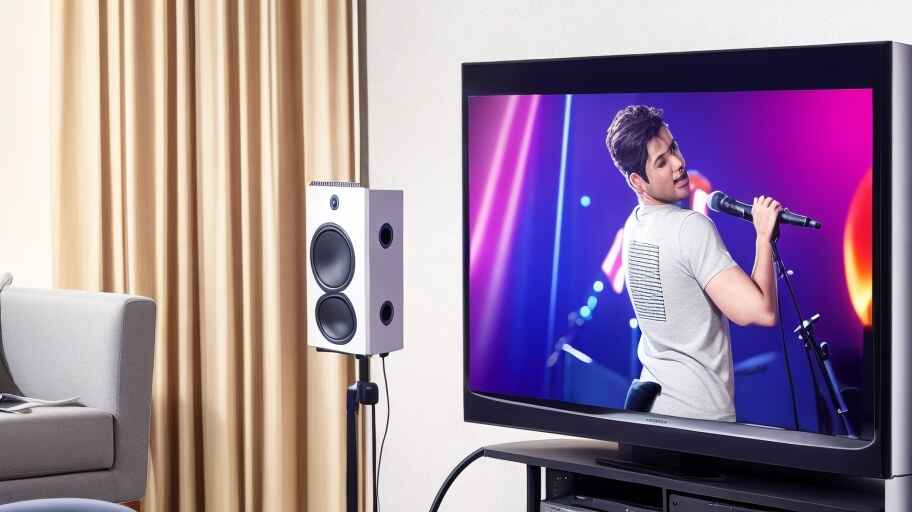
Karaoke enthusiasts know that having the perfect microphone setup can take their singing experience to a whole new level.
Whether you’re belting out your favorite tunes alone or hosting a karaoke party with friends, knowing how to connect a microphone to your TV is essential.
In this guide, we’ll explore five different methods to achieve this, each offering its own unique advantages.
Why Connecting a Mic to TV is Essential for Karaoke Lovers

Before we dive into the nitty-gritty of microphone connections, let’s understand why it’s crucial for karaoke lovers to link their microphones to their TVs.
Karaoke is all about unleashing your inner pop star, and a good microphone setup can make or break the experience.
Connecting your microphone to the TV ensures that your voice is amplified through the television’s speakers, allowing you to sing along with your favorite tracks while enjoying crystal-clear sound.
5 Methods to Link Your Microphone to a Smart TV:
Seamless Karaoke with Wi-Fi Connection
Imagine a world where you can connect your microphone to your TV without any cables.
Wi-Fi connections offer just that, making karaoke setup a breeze. We’ll walk you through the steps to achieve this wireless karaoke dream.
Using the Classic RCA Cables: Step by Step
RCA cables might be old-school, but they are tried and true when it comes to connecting microphones to TVs.
We’ll guide you through the process, ensuring you get the best audio quality for your karaoke sessions.
Wireless Freedom: Connecting via Bluetooth
Bluetooth technology has revolutionized the way we connect devices.
Learn how to harness this wireless freedom to link your microphone to your TV effortlessly.
Utilizing a 3.5mm Jack for Wired Microphones
Sometimes simplicity is key. If you have a trusty wired microphone, fear not; we’ll show you how to use a 3.5mm jack to connect it to your TV.
Plug and Play: USB Microphones for Smart TVs
USB microphones are user-friendly and offer excellent sound quality.
Discover the simplicity of plugging and playing with these microphones and your smart TV.
Setting Up Your Soundbar for Karaoke: A Comprehensive Guide
A soundbar can elevate your karaoke experience to a whole new level, providing rich and immersive audio.
In this section, we’ll guide you through setting up your soundbar to enhance your karaoke sessions.
Introduction: Enhancing Your Karaoke Experience with a Soundbar
Let’s begin by understanding how a soundbar can transform your karaoke nights.
It’s not just about singing; it’s about feeling like you’re performing on a stage with professional audio.
Steps to Integrate Your Karaoke Setup with a Soundbar:
Preparing Your Soundbar: Disconnecting from the Audio Source
Before you connect your soundbar to your TV, it’s essential to ensure it’s ready for action.
We’ll show you how to disconnect it from any previous audio sources.
Linking Your TV to a Karaoke Mixer: A Simple Process
To make the most of your soundbar, you’ll need a karaoke mixer.
Learn how to connect your TV to this essential piece of equipment.
Bridging the Gap: Connect the Karaoke Mixer to Your Soundbar
Now that your TV and karaoke mixer are on the same page, we’ll bridge the gap by connecting them to your soundbar, ensuring seamless audio integration.
The Star of the Show: Attaching the Microphone(s) to the Karaoke Mixer
Your microphone takes center stage here. Discover how to attach your microphone(s) to the karaoke mixer to prepare for your grand performance.
The Final Step: Powering On and Testing Your Setup
With everything in place, it’s time for the moment of truth.
We’ll guide you through powering on your setup and testing it to ensure everything sounds just right for your karaoke extravaganza.
Connecting a Microphone to Other Devices
In our tech-savvy world, microphones have become essential tools not only for singers and public speakers but also for everyday tasks like online meetings and recording voice notes.
The ability to connect a microphone to various devices adds versatility to these handy gadgets.
To get the latest scoop on Connect Microphone to Bluetooth Speaker, Multiple Microphones to an Amplifier, Blue Yeti Microphone to an iPhone, don’t skip these featured articles from Best Quick Reviews:
How to Connect Microphone to Bluetooth Speaker? Step-by-Step
How to Connect Multiple Microphones to an Amplifier?
Can You Connect a Blue Yeti Microphone to an iPhone?
The Importance of Versatile Microphone Connections
Before we dive into the specifics of connecting microphones to different devices, let’s understand why versatile microphone connections are crucial.
In a world where we constantly switch between devices for various tasks, having a microphone that can seamlessly connect to different platforms ensures convenience and efficiency.
Whether you’re recording a podcast on your laptop, making a call on your phone, or taking notes on your tablet, a versatile microphone connection simplifies your life.
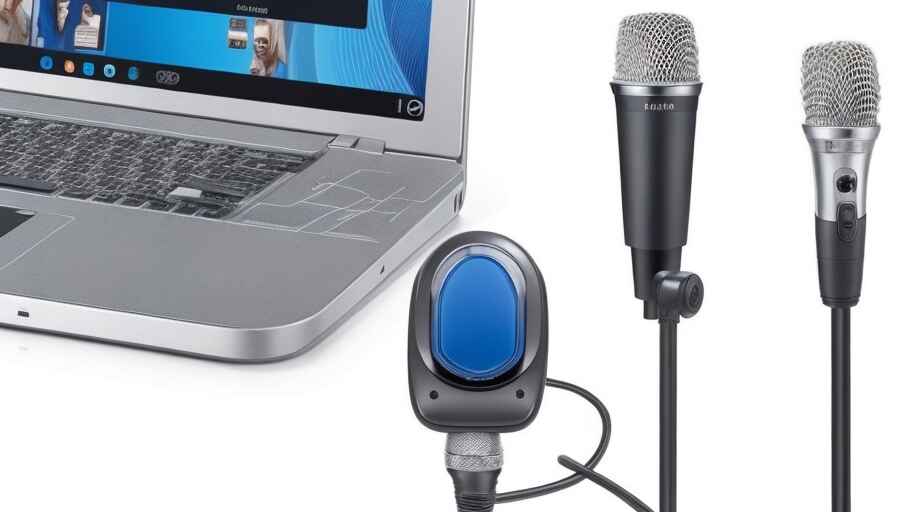
How to Connect a Microphone to a Laptop or PC
1. USB Microphones: The Plug-and-Play Solution
USB microphones are a popular choice for laptop and PC users due to their simplicity.
These microphones plug directly into a USB port, requiring no additional drivers or setup.
Once connected, your laptop or PC should automatically recognize the microphone as an audio input device.
This method is ideal for online meetings, recording, and podcasting.
2. 3.5mm Jack Microphones: The Classic Connection
Many laptops and PCs feature a 3.5mm microphone jack, often colored pink.
To connect a 3.5mm jack microphone, simply plug it into the corresponding port.
You may need to adjust your device’s audio settings to select the microphone as the default input source.
Hooking Up a Microphone to Your Phone
1. External Microphones: Compatible with Phone Adapters
Most modern smartphones support external microphones through their headphone jacks or USB-C/Apple Lightning ports.
To connect an external microphone, you’ll likely need an adapter that converts the microphone’s connector to match your phone’s input port.
Once connected, your phone should recognize the external microphone, allowing you to use it for calls, voice recordings, or video chats.
2. Wireless Bluetooth Microphones: A Tangle-Free Option
For ultimate convenience, consider a wireless Bluetooth microphone compatible with your phone.
These microphones pair with your phone effortlessly, providing a cable-free experience.
Simply enable Bluetooth on your phone, put the microphone in pairing mode, and connect the two devices.
This method is ideal for vlogging, interviews, and on-the-go recording.
Easily Connect a Microphone to Your Tablet
Tablets have become versatile devices for work and entertainment, and connecting a microphone can enhance their functionality.
1. USB Microphones: Tablet-Friendly Plug-and-Play
Just like with laptops and PCs, USB microphones are a straightforward solution for tablets.
Connect the USB microphone to your tablet using an appropriate adapter if necessary.
Most modern tablets can recognize and use USB microphones without any additional setup, making them suitable for various applications, including music recording and podcasting.
2. Bluetooth Microphones: Seamless Wireless Integration
If you prefer a wireless setup with your tablet, a Bluetooth microphone is an excellent choice.
Pair the Bluetooth microphone with your tablet by accessing the Bluetooth settings, and you’re ready to use it for video calls, voice recording, or any other task that requires high-quality audio.
FAQs About How to Connect Microphone to TV for Karaoke
How do I connect my microphone to my Sony Smart TV?
To connect a microphone to your Sony Smart TV, first check if your TV has a built-in microphone input.
If it does, simply plug in your microphone. If not, you may need to use an HDMI audio extractor or a USB audio adapter, depending on your microphone type.
How do I connect my Bluetooth microphone to my TCL TV?
To connect a Bluetooth microphone to your TCL TV, go to the TV’s settings menu, select “Bluetooth,” and put your microphone in pairing mode.
The TV should detect the microphone, and you can pair them. Make sure the microphone is compatible with your TV model.
How do I connect my microphone to my soundbar?
To connect a microphone to a soundbar, check if your soundbar has a microphone input. If it does, connect the microphone directly.
If not, you may need to connect the microphone to your TV or another audio source and then connect that source to the soundbar using an appropriate cable.
Does Smart TV have a mic input?
Not all Smart TVs have a built-in microphone input. Check your TV’s user manual or specifications to determine if it has a mic input.
If not, you may need external devices or adapters to connect a microphone.
Does HDMI carry mic audio?
HDMI typically carries both audio and video signals, but it doesn’t carry microphone audio directly.
You’ll need to connect the microphone separately to your TV or audio system using the appropriate input.
How do I turn my smart TV into karaoke?
To turn your smart TV into a karaoke system, you can use karaoke apps or purchase a karaoke machine that connects to your TV.
Connect a microphone and follow the instructions provided by the karaoke software or device to start singing.
Can I sing karaoke on my smart TV?
Yes, you can sing karaoke on your smart TV by using karaoke apps or connecting a compatible microphone and karaoke machine.
Make sure your TV supports the karaoke setup you choose.
Can I connect a wired microphone to a smart TV?
You can connect a wired microphone to a smart TV if the TV has a compatible microphone input.
If your TV doesn’t have one, you may need to use external audio equipment or adapters to make the connection.
Can you connect a Bluetooth microphone to Roku TV?
Yes, you can connect a Bluetooth microphone to a Roku TV if your TV model supports Bluetooth devices.
Navigate to the TV’s Bluetooth settings, pair your microphone, and you should be able to use it for various applications, including karaoke.
How do you use a Bluetooth karaoke microphone?
To use a Bluetooth karaoke microphone, first ensure it’s charged and paired with your device (e.g., smart TV, smartphone, tablet).
Open a karaoke app or software, select the microphone as the audio input, and start singing.
Adjust the microphone’s volume and echo settings as needed for your karaoke experience.
Conclusion
In the world of karaoke, connecting a microphone to your TV is the key to unlocking a world of musical fun.
Whether you opt for the convenience of Wi-Fi, the reliability of classic cables, the freedom of Bluetooth, the simplicity of a 3.5mm jack, or the ease of USB microphones, the possibilities are endless.
And if you take it a step further by integrating a soundbar into your setup, your karaoke nights will become unforgettable experiences.
So, find your preferred method, follow the steps, and let your inner diva or rock star shine through the TV screen. Karaoke has never been so accessible and enjoyable.