
Ever wondered how to mic a violin live without turning your elegant serenade into a screeching symphony of feedback?
Well, fret not, dear music maestro, because we’ve got the beautiful solution you’ve been searching for!
Keep reading to unlock the secrets of capturing that enchanting violin magic in all its live glory!
Choosing the Right Microphone
Types of Microphones for Violin
When it comes to miking a violin live, your choice of microphone plays a pivotal role in capturing its sound faithfully. There are several types of microphones to consider:
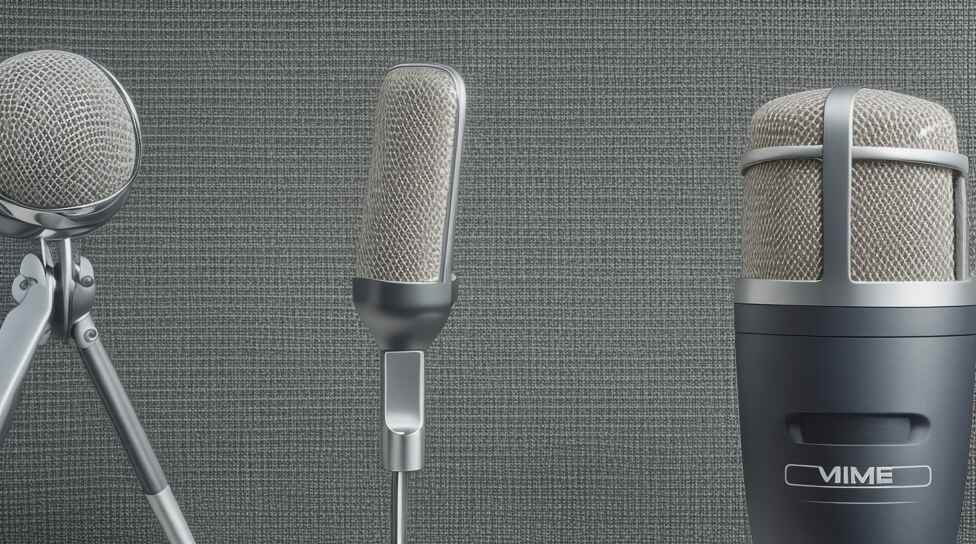
Condenser Microphones
Condenser microphones are known for their sensitivity and accuracy. They excel at capturing the nuances of a violin’s sound, making them a popular choice for live performances.
Their flat frequency response ensures a natural sound, ideal for classical settings.
Dynamic Microphones
Dynamic microphones are rugged and capable of handling high sound pressure levels. They are often used in rock bands and other high-energy performances.
While they might not offer the same level of detail as condenser microphones, they can still produce a satisfactory sound.
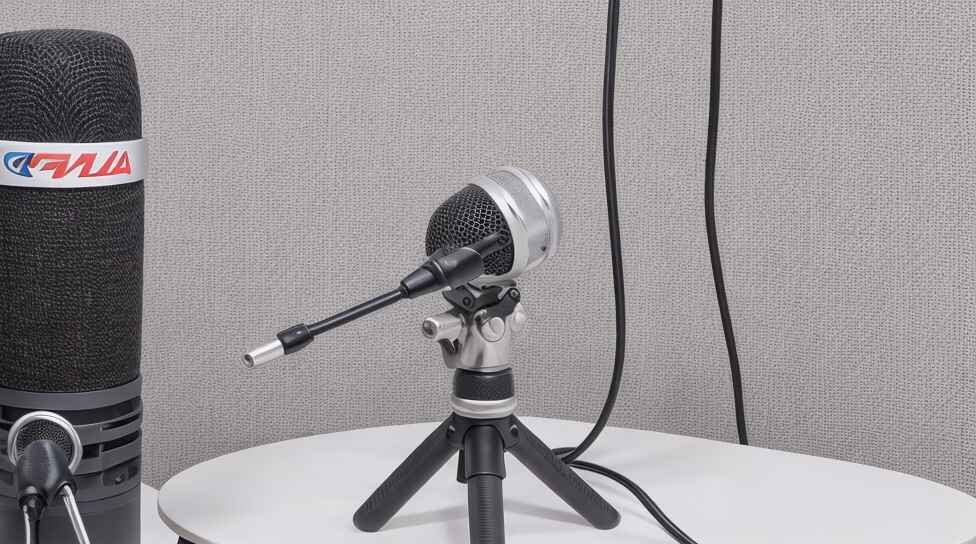
Clip-On Microphones
Clip-on or lavalier microphones are compact and can be discreetly attached to the violin.
They are a great choice for situations where microphone visibility is a concern. However, their sound might not be as pristine as condenser or dynamic options.
Polar Patterns
Understanding polar patterns is crucial in selecting the right microphone for live violin miking.
Polar patterns determine how a microphone captures sound from different directions. For violin, the following patterns are commonly used:
Cardioid
A cardioid microphone picks up sound primarily from the front and rejects sound from the rear.
This pattern is effective for isolating the violin’s sound and minimizing background noise.
Hypercardioid
Hypercardioid microphones have a narrower pickup pattern compared to cardioid microphones.
They provide even greater isolation but require precise positioning to avoid feedback.
Omni-directional
An omni-directional microphone captures sound equally from all directions. While it may not be the first choice for live violin miking, it can be useful in specific sound-capturing situations.
Discover essential information about Pawn Shops Buy Microphones in my article: Do Pawn Shops Buy Microphones? Cash for Sound
Placement and Positioning
Microphone Placement
The placement of the microphone in relation to the violin can significantly impact the sound quality. Here are some common microphone placement options:
Bridge Placement
Placing the microphone near the violin’s bridge can capture the instrument’s natural sound and resonance. This position is favored in classical performances.
Fingerboard Placement
Positioning the microphone near the fingerboard emphasizes the higher frequencies and can add brightness to the sound. It is often used in rock and contemporary music.
Soundhole Placement
Placing the microphone near the violin’s soundhole can provide a balanced sound. However, it may be more susceptible to feedback, so monitor your levels carefully.
Angle and Distance
The angle and distance at which you position the microphone are equally important. Aim for an angle that captures the instrument’s sound without picking up excessive bow noise or background noise.
Experiment with different distances to find the sweet spot that suits your style and venue.
Explore my articles for a more in-depth understanding of Lower Mic Quality: How to Lower Mic Quality? Mastering the Art of Audio
Handling Feedback
Feedback Prevention
Dealing with feedback is a common challenge when miking a violin live. To prevent feedback:
- Conduct sound checks before the performance to identify potential issues.
- Use monitors effectively to ensure musicians can hear themselves without relying on the front-of-house system.
- Position the monitor speakers strategically to minimize feedback.
- Communicate with your sound engineer to make necessary adjustments during the performance.
Dealing with Feedback
Even with preventive measures, feedback can still occur. When it does:
- Stay calm and composed to avoid disrupting the performance.
- Ask the sound engineer to lower the microphone’s gain.
- Adjust your position or angle to minimize feedback.
- If necessary, use a graphic equalizer to notch out problematic frequencies.
Connecting and Setting Levels
Choosing the Right Cable
Selecting the appropriate cable for connecting the microphone is essential for a seamless live performance.
Consider factors such as cable type and length to ensure a reliable connection between the microphone and the audio system.
Setting Gain Levels
Setting the microphone’s gain levels is a collaborative effort between the sound engineer and the musician. The goal is to achieve the optimal balance between the violin’s sound and the rest of the instrumentation.
Musicians should communicate their preferences, while sound engineers use their expertise to fine-tune the levels for the best result.
Monitoring and Sound Quality
Monitoring the Sound
Monitoring the violin’s sound during a live performance is critical for delivering a flawless performance. There are two main options:
In-Ear Monitors
In-ear monitors provide musicians with a personalized mix of their instrument and other audio sources. They offer exceptional clarity and isolation, reducing the risk of feedback.
Stage Monitors
Stage monitors are speakers placed on the stage to provide audio feedback to the musicians. While they can be effective, they may contribute to feedback issues if not positioned correctly.
Achieving the Best Sound Quality
To achieve the best sound quality when miking a violin live, consider the following:
- Use equalization (EQ) to fine-tune the violin’s sound and address any tonal imbalances.
- Experiment with effects like reverb and delay to enhance the violin’s presence in the mix.
- Work closely with the sound engineer to ensure all elements of the sound are well-balanced and cohesive.
How To Mic a Cello and Violin in a Studio Live Situation
In the world of stringed instruments, the cello and violin stand out as stars. Their ability to convey emotions through music is unparalleled. Whether you’re part of a classical ensemble, a rock band, or anything in between, capturing the sound of these instruments in a studio live situation is a unique challenge.
The Cello Sound
The cello produces a rich, warm sound that resonates with listeners. To capture this sound faithfully in a studio live situation, consider using specialized microphones designed for string instruments like the Remic C5300.
These microphones are optimized to pick up the nuances of the cello’s sound, ensuring a true representation of its tonal qualities.
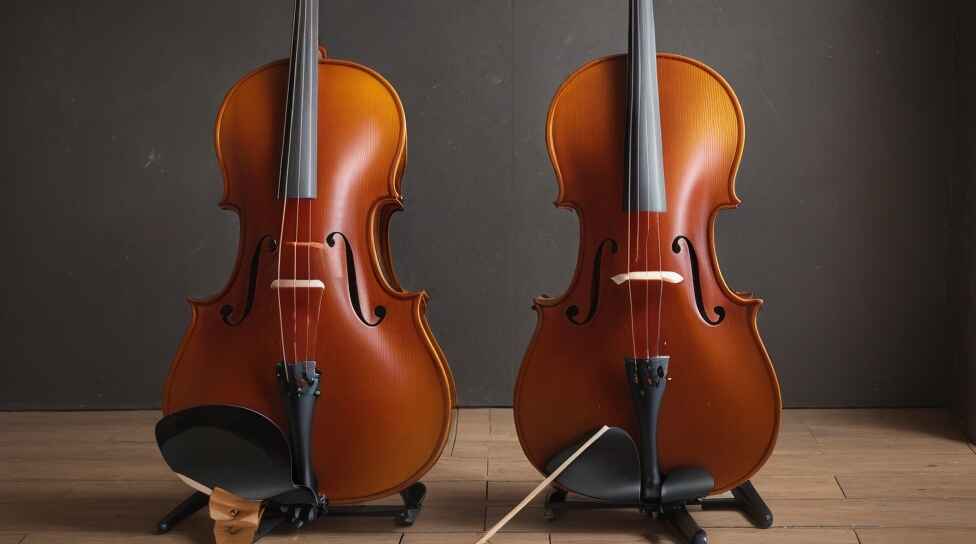
Mic’ing the Violin
Just like the cello, the violin has its own specific sound characteristics. To bring out the best in a live studio setting, experiment with different microphone placements and angles.
A condenser microphone can work wonders in capturing the violin’s intricate details, while a dynamic microphone might be more suitable for a rock band’s high-energy performance.
Groups of Cellos
If you’re fortunate enough to work with a group of cellos, consider using a combination of microphones to capture the ensemble’s harmonious sound.
Position microphones strategically to ensure each cello is adequately represented, and adjust the levels accordingly to achieve a balanced mix.
Rock Band Versatility
In a rock band setting, the cello and violin can add a unique dimension to the sound.
Experiment with different miking techniques, such as using a clip-on microphone or a headset microphone, to ensure the instruments cut through the mix without overpowering the other elements.
Natural Sound Remic Microphones
For those special situations where you want to capture the natural sound of string instruments like the cello and violin, Remic microphones offer a solution.
The Remic C5300, for example, is designed to faithfully reproduce the sound of these instruments, ensuring a pristine and unaltered recording.
Depending on the Kind
The choice of microphone and miking technique may also depend on the kind of music you’re performing.
Classical and normal classical performances may require a different approach compared to rock or experimental genres.
Always consider the specific requirements of your musical style when micing the cello and violin in a studio live situation.
In the world of music, the cello and violin are iconic instruments that can evoke a wide range of emotions.
Capturing their sound in a studio live scenario requires a nuanced approach, the right equipment, and a deep understanding of their unique characteristics.
Troubleshooting and Common Issues
Common Problems
When miking a violin live, several common issues can disrupt the performance and sound quality.
Understanding these issues and how to address them is crucial for a seamless live experience.
Noise Artefacts
One of the most prevalent problems is the presence of noise artefacts, which can manifest as unwanted hissing, buzzing, or crackling sounds.
These artefacts can be caused by interference from nearby electronic equipment or poor cable connections.
Distortion
Distortion can occur when the sound input exceeds the microphone’s handling capabilities. It often results in a harsh, unpleasant sound that can be distracting for the audience.
Imbalance
Achieving a balanced sound is essential for a pleasing live performance. Imbalance can occur when one part of the violin’s sound, such as the higher frequencies or lower frequencies, is disproportionately amplified, leading to an uneven sound.
Troubleshooting Techniques
Noise Artefacts
To address noise artefacts:
- Check Cable Connections: Ensure all cables are securely connected and in good condition. Replace any damaged cables.
- Isolate Electronic Equipment: Keep microphones and cables away from electronic devices that emit interference, such as amplifiers or power sources.
- Use Quality Cables: Invest in high-quality shielded cables to minimize the risk of interference.
Distortion
To combat distortion:
- Lower Input Gain: Reduce the microphone’s gain level to prevent overloading the input. Sound engineers should monitor input levels and make adjustments as needed during the performance.
- Soundcheck: Conduct thorough sound checks before the performance to identify and address potential distortion issues.
- Limit External Factors: Minimize external factors that can contribute to distortion, such as excessive stage volume or feedback.
Imbalance
To rectify imbalance:
- Microphone Placement: Adjust the microphone’s placement to capture a more balanced representation of the violin’s sound. Experiment with different angles and distances.
- Use Equalization (EQ): Apply EQ adjustments to correct imbalances in the sound. Boost or cut frequencies as needed to achieve a well-balanced tone.
- Monitor Sound: Continuously monitor the sound during the performance, and make real-time adjustments to the mix as necessary to maintain balance.
Adapting During a Performance
During a live performance, quick thinking and adaptability are essential:
- Sound Engineer Communication: Establish clear communication with the sound engineer, who can assist in resolving issues on the fly.
- Backup Microphone: Have a backup microphone ready in case the primary one fails or experiences issues.
- Instrument Adjustments: If distortion or imbalance persists, musicians may need to adjust their playing technique to mitigate the problem temporarily.
- Monitor Mix: Continuously monitor the monitor mix and communicate with the sound engineer to make real-time adjustments.
By being aware of these common issues and having troubleshooting techniques at your disposal, you can ensure that your live violin performance is not derailed by technical challenges.
With practice and experience, both musicians and sound engineers can work together seamlessly to deliver an outstanding musical experience for the audience.
FAQs About How to Mic Violin Live
How do you mic a viola for live performance?
To mic a viola for live performance, use a small-diaphragm condenser microphone.
Position it about 12 inches away from the viola’s bridge, pointing towards the instrument’s F-hole. Experiment with the angle and distance for the best sound capture.
What mic to use on violin?
For the violin, opt for a clip-on condenser microphone or a lavalier microphone. Attach it to the instrument’s body, near the F-hole, to capture the sound accurately. Ensure it doesn’t obstruct your playing.
Can you use a dynamic mic on violin?
Yes, you can use a dynamic microphone on a violin, but it’s less common than condenser mics.
It may not capture the subtle nuances as effectively, so adjust the placement and experiment with settings to get the desired sound.
How do I make my audio sound like a live performance?
To make your audio sound like a live performance, use reverb effects and EQ adjustments.
Add a touch of reverb to simulate a live room environment and enhance the sense of space. Tweak the EQ to match the acoustic characteristics of a live setting.
How do you attach a microphone to a violin?
Attach a clip-on microphone or lavalier microphone to your violin with a specialized mounting clip or adhesive putty.
Ensure it’s securely in place without obstructing your playing or causing any damage to the instrument.
How do I use my mic for live performance?
To use a microphone for live performance, connect it to a mixer or audio interface using an appropriate cable.
Adjust the microphone’s placement for optimal sound capture and make sure to set proper levels and monitor your audio during the performance.
Is a condenser mic good for violin?
Yes, a condenser microphone is generally a good choice for the violin. It captures the instrument’s detailed nuances and resonance effectively.
Use a small-diaphragm condenser mic for accurate sound reproduction.
Where do you put the mic in a live orchestra?
In a live orchestra setting, place microphones as overheads or on stands to capture the overall sound.
Experiment with mic placement to balance the various instruments and achieve the desired mix. Avoid obstructing the musicians’ view.
Can you connect a violin to a speaker?
Yes, you can connect a violin to a speaker by using a violin pickup or microphone.
Connect the pickup or mic to an amplifier or PA system, and then route the sound to the speaker. Adjust the volume and tone controls as needed.
Where do you put the silencer on a violin?
A silencer, or mute, on a violin is typically placed on the bridge. It dampens the sound by coming into contact with the strings.
Be cautious not to apply too much pressure to avoid damaging the instrument.
Why do live songs sound faster?
Live songs may sound faster due to the excitement and adrenaline of a live performance.
Musicians may unintentionally play at a slightly quicker tempo, contributing to the perception of a faster-paced rendition compared to studio recordings.
Final Thoughts About How to Mic Violin Live
In the intricate world of live music, capturing the essence of a violin’s sound is both an art and a science.
Choosing the right microphone, understanding polar patterns, and mastering placement techniques are essential skills for any musician or sound engineer.
Troubleshooting common issues and adapting on the spot ensure a flawless performance.
Whether you’re in a classical ensemble, a rock band, or any other musical setting, the ability to mic a violin live opens doors to a world of captivating melodies.
With the right knowledge and practice, you can take center stage and enchant your audience with the timeless allure of this magnificent instrument.