
Tired of your Kinect playing hard to get? Fear not! Discover the secret weapon in your audio arsenal – the USB microphone. In this quick guide, we’ll spill the beans on how to setup a USB microphone in place of Kinect. Ready for a voice revolution? Let’s dive in!
Assessing Compatibility
Check USB Microphone Compatibility
To determine if your USB microphone is compatible with your Xbox One, you’ll need to check the microphone’s specifications.
Look for a microphone that is compatible with Windows or Mac, as these are more likely to work with your Xbox One.
Additionally, make sure the microphone has a USB connection, as this is the only way to connect it to your console.
Preparing Your Setup
Gather Necessary Equipment
To set up a USB microphone on your Xbox One, you’ll need the following equipment:
- USB microphone
- Xbox One console
- Xbox One controller
- USB cable
Ensure Adequate USB Ports
You’ll need at least one available USB port on your Xbox One console to connect your USB microphone. If you have limited USB ports, you can use a USB hub to expand the number of available ports.
How To Setup A USB Microphone In Place of Kinect?
Setting up a USB microphone in place of Kinect on Xbox One is a straightforward process. Here are the steps to follow:
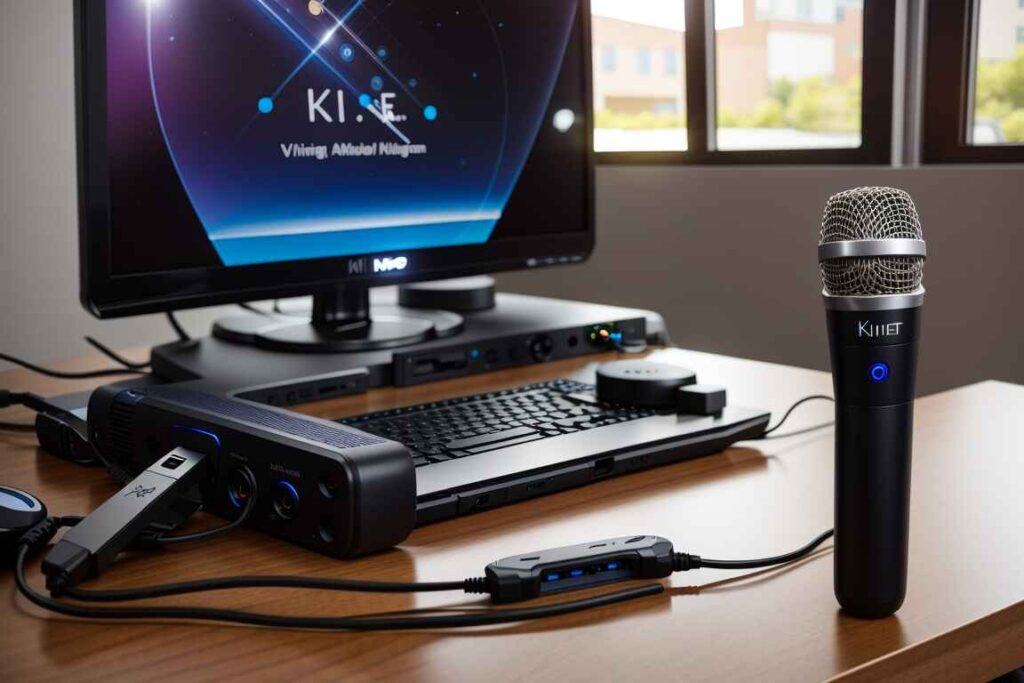
Connect the USB Microphone
- Plug your USB microphone into an available USB port on your Xbox One console.
Install Drivers (if necessary)
- Navigate to the Settings menu and select the “Kinect & Devices” option.
- Select “Devices & Accessories” and then choose “Audio Devices.”
- Scroll down to the “Communication Device” option and select “Headset – USB Microphone.”
- Set your USB microphone as the default audio device.
- Test your USB microphone to make sure it’s working properly by starting a game or app that allows you to use your mic and speaking into the mic to make sure you can hear yourself.
For a thorough understanding of Stream From Xbox One With USB Microphone, consult the following articles on Best Quick Reviews: How To Stream From Xbox One With A USB Microphone?
Are drivers required for your USB microphone, and how do you install them?
Most USB microphones do not require drivers to be installed manually.
When you plug in the microphone, Windows looks through its database for the dedicated driver and installs it automatically.
So, as long as you use a microphone manufactured by a reputed brand, the installation of drivers should be automatic. However, if your microphone is not recognized by your device, you may need to install the drivers manually.
To do this, go to the manufacturer’s website and download the latest drivers for your microphone. Once downloaded, run the installer and follow the on-screen instructions.
If you’re seeking further details about Xbox, these Best Quick Reviews articles are a must-read:
Why Is My USB Microphone Blocking Xbox Party Chat?
Do USB Microphones Work On Xbox One? Let’s Find Out!
Can I Use A USB Microphone On Xbox One? Guide for Gamers
What do you do if your microphone is not recognized by your device?
If your USB microphone is not recognized by your device, there are a few things you can try:
- Make sure the microphone is properly connected to your device. Try unplugging and plugging it back in.
- Check if your USB mic has a physical mute button and set the switch accordingly.
- Use another USB cable. If the USB cable is detachable from the microphone, try another USB cable. If there’s provision on the mic, you can use an audio jack cable to connect to the PC or you may use the USB audio jack adapter.
- Try another USB port. You can plug the USB microphone into another USB port on your computer.
- Uninstall and reinstall the USB microphone. Go to Device Manager, find the USB microphone, right-click on it, and select “Uninstall.” Once uninstalled, restart your device and plug in the microphone again. Windows should automatically reinstall the drivers for the microphone.
Configuring Audio Settings
Before you can use a USB microphone on your Xbox One, you’ll need to configure your audio settings. Here’s how to access audio settings on your Xbox One console:
- Press the Xbox button to open the guide.
- Select “Profile & system” and then “Settings.”
- Choose “General” and then “Volume & audio output.”
- Under “Headset audio,” select “Audio output.”
Once you’ve accessed audio settings, you can choose your preferred audio output device and adjust other settings as needed. To select your USB microphone as input, follow the steps below.
Accessing Audio Settings
To access audio settings on your Xbox One console, follow these steps:
- Press the Xbox button to open the guide.
- Select “Profile & system” and then “Settings.”
- Choose “General” and then “Volume & audio output.”
- Under “Headset audio,” select “Audio output.”
Selecting the USB Microphone as Input
To choose the USB microphone as the preferred audio input source, follow these steps:
- Plug your USB microphone into an available USB port on your Xbox One console.
- Navigate to the Settings menu and select the “Kinect & Devices” option.
- Select “Devices & Accessories” and then choose “Audio Devices.”
- Scroll down to the “Communication Device” option and select “Headset – USB Microphone.”
- Set your USB microphone as the default audio device.
Once you’ve selected your USB microphone as input, you can adjust other settings as needed to optimize audio quality.
Testing and Troubleshooting
After you’ve configured your audio settings and selected your USB microphone as input, it’s important to test your microphone to make sure it’s working properly. Here’s how to test your USB microphone on Xbox One:
Testing the USB Microphone
To test your USB microphone on Xbox One, follow these steps:
- Start a game or app that allows you to use your microphone.
- Speak into the microphone to make sure you can hear yourself.
- Adjust the microphone volume as needed to optimize audio quality.
Troubleshooting Common Issues
If you encounter any issues while setting up your USB microphone on Xbox One, here are some common problems and solutions:
Audio Latency or Synchronization Problems
If you experience audio latency or synchronization problems, try the following solutions:
- Make sure your USB microphone is properly connected to your Xbox One console.
- Check for any updates to your Xbox One console or USB microphone firmware.
- Adjust your audio settings to optimize audio quality.
Mic Not Working
If your USB microphone is not working correctly, try the following solutions:
- Make sure your USB microphone is properly connected to your Xbox One console.
- Check for any updates to your Xbox One console or USB microphone firmware.
- Adjust your audio settings to optimize audio quality.
- Try using a different USB port on your Xbox One console.
- Try using a different USB microphone.
With these simple steps, you can easily set up a USB microphone in place of Kinect on Xbox One.
Whether you’re streaming on console or just want to communicate with your gaming friends, a USB microphone can provide high-quality audio and a better overall gaming experience.
Using the USB Microphone Effectively
Adjusting Microphone Placement
One of the most important factors in getting good audio quality from your USB microphone is proper placement. You want to position the microphone close to your mouth, but not so close that it picks up unwanted sounds like breathing or mouth noises.
A good rule of thumb is to have the mic positioned about 6-12 inches away from your mouth.
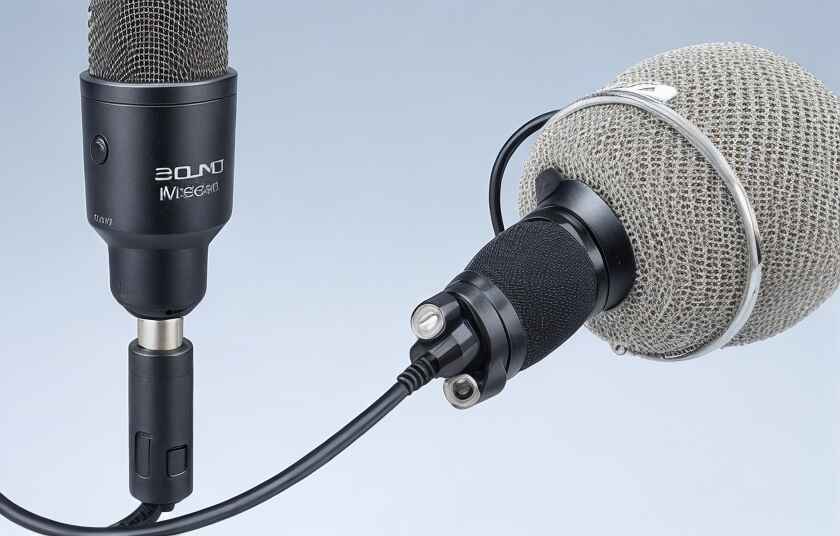
If you’re using a dynamic mic like the XDM-100, ideally place the mic between 5-15cm (2-6 inches) from your mouth.
Condenser microphones like the RØDE NT-USB+ should be placed a bit further away, around 15-30cm (6-12 inches) from your mouth.
Reducing Background Noise
Another important consideration when using a USB microphone is reducing background noise.
This can be especially challenging if you’re recording in a noisy environment or using a microphone that is particularly sensitive.
One way to reduce background noise is to use a pop filter or windscreen.
These accessories can help to reduce plosives (popping sounds) and wind noise, which can be especially problematic when recording vocals or speech.
Another option is to use noise reduction software. Many recording and streaming applications have built-in noise reduction features that can help to reduce unwanted sounds. You can also use standalone noise reduction software like iZotope RX or Audacity.
Recording or Streaming
Once you’ve got your USB microphone set up and positioned correctly, you’re ready to start recording or streaming. There are a variety of software options available for recording or streaming audio with your USB microphone. Some popular options include:
- OBS Studio: A free and open-source software for recording and streaming video and audio.
- Audacity: A free and open-source audio editing software that can be used for recording and editing audio.
- Streamlabs OBS: A free software that allows you to stream and record content from your computer.
When using these applications, it’s important to optimize your settings for specific applications or use cases. For example, if you’re recording vocals, you may want to use a different microphone placement or gain setting than if you’re recording an instrument.
Maintenance and Best Practices
Cleaning and Maintenance
To ensure the longevity of your USB microphone, it’s important to clean and maintain it regularly. This can help to prevent damage from dust, dirt, and other debris.
The key to microphone maintenance is to keep them clean and dry. By regularly wiping down your microphones with a dry, soft cloth (such as a microfiber cloth), you can minimize the amount of dust or other debris that gathers on the mic.
However, sometimes a bit deeper cleansing is in order.
To clean your microphone, you can use a toothbrush soaked in a diluted solution of mouthwash and water.
Hold the mic upside down when you do this to prevent moisture from leaking into its cartridge.
Never spray disinfectant or any cleaning agent at the head of the mic since that will penetrate the grille and possibly damage the mic.
Best Practices for Audio Quality
To get the best audio quality when using a USB microphone in place of Kinect, there are a few tips and tricks you can follow.
First, make sure you’re using a high-quality USB microphone that is appropriate for your use case. For example, if you’re recording vocals, you may want to use a condenser microphone like the RØDE NT-USB+. If you’re recording instruments or other sounds, a dynamic microphone like the XDM-100 may be more appropriate.
Second, make sure you’re using the correct microphone placement and gain settings for your use case. This can help to reduce background noise and ensure that your audio is clear and easy to understand.
Finally, consider using noise reduction software or other tools to improve the quality of your audio. With a little bit of effort and attention to detail, you can get great results from your USB microphone in place of Kinect.
Frequently Asked Questions
Does Xbox Kinect use USB?
Yes, Xbox Kinect can be wired to a computer using a USB cable. In fact, there are tutorials available online that show how to wire an Xbox Kinect for USB.
How do I get my Xbox to recognize my USB headset?
To get your Xbox to recognize your USB headset, you need to plug it into one of the USB ports on your Xbox console.
Once you have done that, you need to go to the settings menu on your Xbox and select “Display & Sound.” From there, select “Audio Output” and then choose “Headset Format” to configure your headset.
Why won’t my wired mic work on Xbox?
There could be several reasons why your wired mic is not working on Xbox. One possible reason is that the mic is not properly connected to the controller.
Another reason could be that the mic is not compatible with your Xbox console. You can try troubleshooting the issue by checking the connection, trying a different mic, or updating your Xbox software.
What can I use instead of Xbox Kinect?
If you are looking for an alternative to Xbox Kinect, you can consider using a webcam or a microphone.
There are several webcams and microphones available in the market that are compatible with Xbox consoles. You can also use a Kinect adapter to connect your Kinect to your PC.
What is the Kinect adapter for?
The Kinect adapter is a device that allows you to connect your Xbox Kinect to your PC.
It is used to convert the Kinect’s proprietary connector into a USB connector that can be plugged into a PC. The adapter is required if you want to use your Kinect with a PC.
How do I get my USB microphone to work?
To get your USB microphone to work, you need to plug it into one of the USB ports on your Xbox console.
Once you have done that, you need to go to the settings menu on your Xbox and select “Display & Sound.” From there, select “Audio Output” and then choose “Headset Format” to configure your microphone.
How do I get my USB headset mic to work?
To get your USB headset mic to work, you need to plug it into one of the USB ports on your Xbox console.
Once you have done that, you need to go to the settings menu on your Xbox and select “Display & Sound.” From there, select “Audio Output” and then choose “Headset Format” to configure your headset.
Do you need software for USB microphone?
No, you do not need any software to use a USB microphone. Once you have plugged in your USB microphone, your Xbox console should automatically recognize it and configure it for use.
Do USB microphones need audio interface?
No, USB microphones do not need an audio interface. USB microphones are designed to be plug-and-play devices that can be used without any additional hardware or software.
Why is my USB camera microphone not working?
There could be several reasons why your USB camera microphone is not working.
One possible reason is that the microphone is not properly connected to your Xbox console. Another reason could be that the microphone is not compatible with your Xbox console.
You can try troubleshooting the issue by checking the connection, trying a different microphone, or updating your Xbox software.
Can a microphone be connected by USB?
Yes, a microphone can be connected by USB.
USB microphones are designed to be plug-and-play devices that can be used without any additional hardware or software.
Final Thoughts
When opting to use a USB microphone in lieu of a Kinect device, consider the potential for improved audio quality and flexibility.
While the process of setup may vary, the key is to ensure compatibility and select appropriate software.
With careful consideration, this swap can enhance your audio experience in applications like gaming or video conferencing, making it a worthwhile upgrade for clearer and more precise sound capture.