
Are you tired of sounding like a muffled robot or a distant rockstar when you pick up a dynamic microphone? Fear not, because in this quick guide on how to use a dynamic microphone, we’re about to unleash your inner audio superhero!
Keep reading to discover the secrets of crystal-clear sound and unleash your vocal prowess!
What Is a Dynamic Microphone?
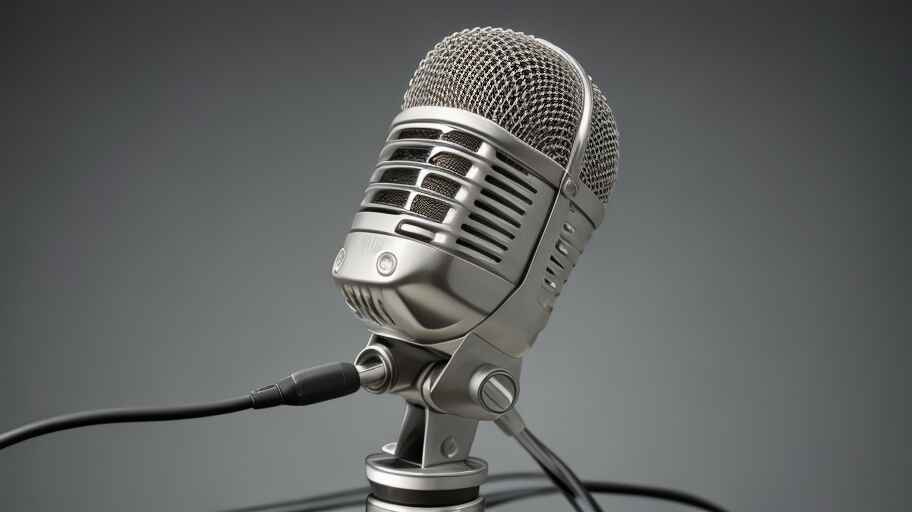
A dynamic microphone is a type of transducer that converts sound waves into electrical energy.
Unlike condenser microphones, which use an electromagnetic diaphragm, dynamic mics employ a diaphragm attached to a coil within a magnetic field.
This design makes them sturdy and capable of handling high sound pressure levels, making them ideal for live performances and recording loud sound sources.
Key Components and How They Work
Understanding the key components of a dynamic microphone is crucial for maximizing its performance.
At its core, a dynamic microphone consists of three main elements: a diaphragm, a coil, and a magnet. When sound waves hit the diaphragm, it moves within the magnetic field, generating an electrical current that mirrors the audio signal.
This current is then sent through the microphone’s output, allowing it to be amplified and recorded.
To delve deeper into Dynamic Microphone and how it works, explore these handpicked articles from Best Quick Reviews:
What Is A Dynamic Microphone? & How Does It Capture Sound?
How Does a Dynamic Microphone Work? Science Behind Sound
What Are Microphone Polar Patterns?
Microphone polar patterns determine how a microphone captures sound from different directions.
It’s essential to know these patterns to ensure you’re capturing the desired audio accurately.
Common Polar Patterns for Dynamic Microphones
Dynamic microphones typically feature cardioid polar patterns, which means they primarily capture sound from the front while minimizing noise from the sides and rear.
This makes them excellent for isolating a sound source and reducing unwanted background noise.
Some dynamic mics may also have hypercardioid or supercardioid patterns for even more directional focus.
How Polar Patterns Affect Sound Capture
Understanding how polar patterns work can help you position the microphone for optimal results.
For instance, if you’re recording a solo instrument, pointing the front of the microphone directly at the source will yield the best results.
On the other hand, when capturing a group performance, angling the mic slightly can help pick up a wider area.
Preparing Your Environment
Before you start recording, it’s crucial to set up your environment for the best possible sound quality.
Choosing the Right Location
Selecting the right recording location can significantly impact the final outcome.
Opt for a room with minimal echo and sound-absorbing materials. If possible, use a pop filter to reduce plosive sounds and a shock mount to isolate the microphone from vibrations.
Reducing Background Noise
Even in controlled environments, there may be some background noise.
Take steps to minimize it by turning off unnecessary equipment, closing windows, and using soundproofing materials if available. Additionally, consider recording during quieter times of the day.
How To Use A Dynamic Microphone?
Connecting your dynamic microphone properly ensures a clean and interference-free signal.
XLR vs. USB Connections
Most dynamic microphones use XLR connections, which provide a balanced audio signal and are commonly used in professional audio setups.
However, some mics have USB options for direct connection to a computer. Choose the connection type that suits your recording setup and equipment.
Using an Audio Interface
If you’re using an XLR dynamic microphone, you’ll need an audio interface to connect it to your computer.
An audio interface acts as a bridge between your microphone and recording software, ensuring high-quality audio capture.
Where to Place Your Dynamic Microphone
When using a dynamic microphone, the placement plays a critical role in achieving the desired sound quality. Let’s explore some essential considerations.
On-Axis vs. Off-Axis Recording
Recording on-axis means pointing the front of the microphone directly at the sound source. This is ideal for capturing the most direct and balanced sound.
However, off-axis recording, where the microphone is angled slightly away from the source, can be useful in reducing certain undesirable characteristics, such as plosive sounds.
Proper Distance and Angle
Maintaining the right distance and angle between the microphone and the sound source is crucial.
For most dynamic microphones, a distance of about 6 to 12 inches (15 to 30 centimeters) is a good starting point.
Experiment with the angle to find the sweet spot that captures the sound you want.
Setting the Right Gain and Volume
Getting the right gain and volume settings on your recording equipment is vital to prevent unwanted distortion and ensure optimal sound quality.
Avoiding Clipping and Distortion
Clipping occurs when the input signal is too loud, resulting in distorted audio.
To avoid this, monitor your recording levels and make adjustments as needed. It’s better to record at a slightly lower volume and increase it later during post-production if necessary.
Using Preamplifiers
Some dynamic microphones may benefit from the use of preamplifiers.
These devices can boost the microphone’s signal before it reaches your recording equipment, allowing you to achieve a cleaner and more robust audio signal.
Techniques for Dynamic Microphone Handling
Proper handling of your dynamic microphone is essential to prevent unwanted artifacts in your recordings.
Avoiding Plosives and Sibilance
Plosives are bursts of air that can create popping sounds when they hit the microphone. To minimize plosives, use a pop filter, which disperses the force of the air.
Additionally, be mindful of your microphone’s position in relation to your mouth, aiming to speak or sing slightly to the side rather than directly into the microphone.
Dealing with Mic Handling Noise
Handling noise can be an issue when you touch or move the microphone during recording.
To reduce this noise, use a shock mount, which isolates the microphone from vibrations and physical disturbances.
Alternatively, use a stable microphone stand and avoid unnecessary touching or movement while recording.
Caring for Your Dynamic Microphone
Taking proper care of your dynamic microphone ensures its longevity and consistent performance. Here are some essential care tips:
Cleaning and Storage
Regularly clean your microphone using a soft, lint-free cloth to remove dust and dirt. Avoid using abrasive materials or harsh chemicals that could damage the microphone’s finish.
When not in use, store your microphone in a protective case or cover it to prevent dust accumulation and potential damage.
Troubleshooting Common Issues
Dynamic microphones are generally robust, but issues can still arise. Common problems include loose connections, damaged cables, or worn-out components.
Troubleshoot these issues promptly to maintain your microphone’s functionality. Refer to your microphone’s user manual or consult a professional for guidance if needed.
Practical Recording Tips
Achieving the best results with your dynamic microphone involves understanding how to adapt to different recording scenarios and instruments.
Live Sound vs. Studio Recording
Dynamic microphones are versatile and can be used in both live and studio settings.
When recording live performances, consider factors such as stage placement and feedback prevention.
In the studio, focus on fine-tuning your microphone placement to capture the nuances of the sound source.
Mic Techniques for Different Instruments
Each musical instrument or sound source may require unique microphone placement and techniques.
Experiment with microphone placement to find the sweet spot for your specific instrument, whether it’s a guitar, drum kit, or vocals. Learning to adapt your microphone techniques can greatly enhance the quality of your recordings.
Enhancing Your Setup
Investing in a few accessories can significantly improve your dynamic microphone setup.
Pop Filters and Windshields
Pop filters are essential for reducing plosive sounds and sibilance in vocal recordings.
Windshields, on the other hand, help mitigate wind noise when recording outdoors or in drafty environments.
Adding these accessories to your setup can make a noticeable difference in the clarity of your recordings.
Upgrading Cables and Stands
The quality of your microphone cables and stands can impact your audio signal. Invest in high-quality, shielded cables to minimize interference and signal loss.
Sturdy microphone stands with adjustable height and stability will provide flexibility and reliability during recording sessions.
FAQs About How To Use A Dynamic Microphone
How do I connect my dynamic mic to my speakers?
To connect your dynamic microphone to speakers, use an XLR cable to connect the mic’s output (male XLR) to a mixer or audio interface.
Then, connect the mixer/interface output to your speakers using the appropriate cables (e.g., XLR, TRS, or RCA).
How do I connect my dynamic mic to my mixer?
Connect your dynamic microphone to a mixer by using an XLR cable. Plug the microphone’s XLR connector into one of the mixer’s XLR inputs.
Adjust the mixer’s gain and volume controls for proper sound levels.
Where do you speak into a dynamic mic?
Speak directly into the top of the dynamic microphone, where the grille or mesh is located.
Position it about 2-4 inches away from your mouth for optimal sound pickup and clarity.
What is the main disadvantage of using dynamic mics?
The main disadvantage of dynamic microphones is their lower sensitivity and frequency response compared to condenser microphones.
They may not capture subtle nuances in sound as effectively.
What is the main disadvantage of dynamic microphones?
Dynamic microphones have a limited frequency response, which may not capture high-frequency details and nuances as well as condenser microphones.
They also require a stronger sound source.
Do dynamic mics need external power?
No, dynamic microphones do not require external power (phantom power) like condenser microphones.
They generate their electrical signal through electromagnetic induction from sound waves.
Discover essential information about Dynamic Microphones Need Power in my article: Do Dynamic Microphones Need Power? Mystery Behind The Mic
How does a dynamic microphone pick up sound?
Dynamic microphones pick up sound through a diaphragm attached to a coil of wire placed within a magnetic field.
When sound waves hit the diaphragm, it vibrates, causing the coil to move within the magnetic field, generating an electrical signal.
Can I plug a microphone directly into speakers?
While it’s possible to connect a microphone directly to speakers, it’s not recommended.
A mixer or audio interface is usually needed to control and adjust the microphone’s signal before sending it to the speakers.
Do singers use dynamic mics?
Yes, singers often use dynamic microphones for live performances.
Dynamic mics are durable, less sensitive to handling noise, and can handle high sound pressure levels, making them ideal for stage use.
Why do streamers use dynamic mics?
Streamers often use dynamic microphones because they are excellent at reducing background noise and focusing on the streamer’s voice.
They are also less sensitive to room acoustics, making them suitable for home recording setups.
Final Thoughts About How To Use A Dynamic Microphone
In conclusion, mastering the use of a dynamic microphone is an invaluable skill for anyone in the world of audio recording and live sound.
Understanding its components, polar patterns, and proper handling techniques is essential for achieving exceptional audio quality.
Whether you’re in a studio setting or performing on stage, the right placement and settings can make all the difference.
Moreover, caring for your microphone and investing in essential accessories can further enhance your recording setup.
With dedication and practice, you can harness the full potential of your dynamic microphone, elevating your audio projects to a professional level and ensuring clear, crisp sound capture every time.