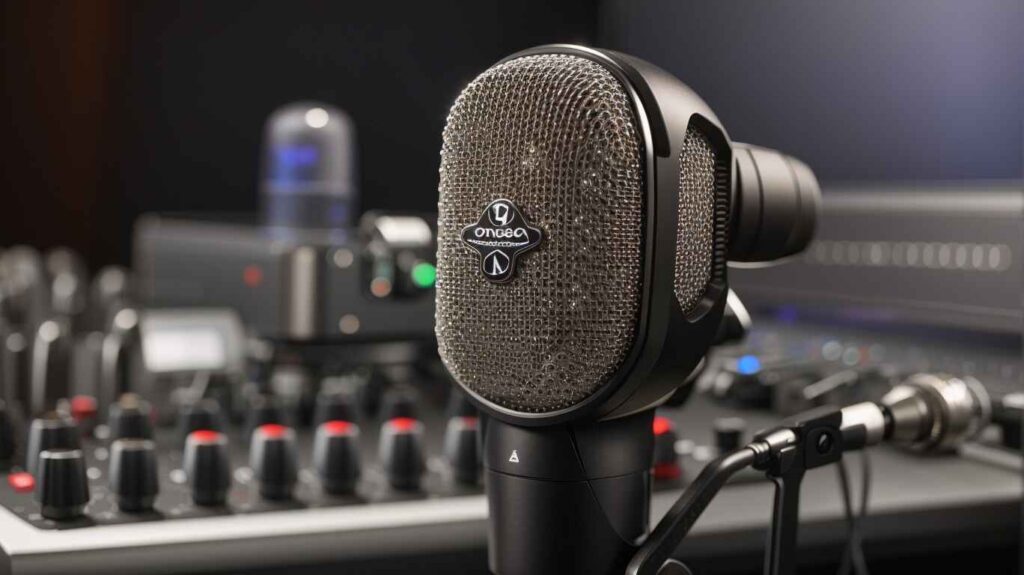
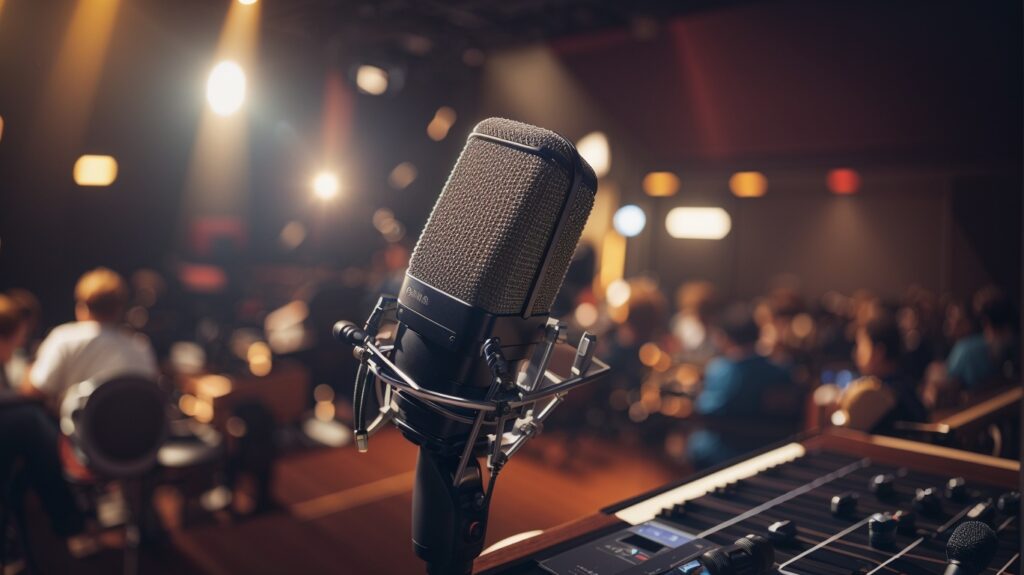
Are you ready to take your live performances from ‘meh’ to ‘OMG’? It’s time to unleash the power of the condenser mic!
In this article, we’ll show you how to use a condenser mic for live performance like a pro. Get ready to rock the stage like never before! Keep reading for the ultimate microphone magic!
What is a condenser microphone?

To kick things off, let’s delve into the heart of the matter: What exactly is a condenser microphone?
Unlike its dynamic counterpart, a condenser mic is an electrostatic device that operates on the principle of capacitance.
In simpler terms, it’s like having a tiny, highly sensitive diaphragm that captures sound waves with unparalleled precision.
Why use a condenser microphone for live performance?
Now, you might be wondering, why should you choose a condenser microphone over other options for your live performances? Well, the answer lies in its ability to faithfully reproduce sound.
Condenser mics excel at capturing the nuances of vocals and instruments, ensuring that your audience hears every delicate whisper and thunderous guitar riff.
Choosing the Right Condenser Mic for Live Performance

Now that you understand the essence of condenser microphones, let’s navigate the maze of options and select the perfect one for your live gigs.
What factors to consider when selecting a condenser mic?
When it comes to choosing a condenser microphone, there are several crucial factors to consider:
- Types of condenser microphones: Condenser mics come in various shapes and sizes, each with its own unique characteristics. You’ll encounter large diaphragm condensers, small diaphragm condensers, and even electret condenser microphones. The choice depends on your specific needs.
- Polar patterns: Polar patterns determine the microphone’s sensitivity to sound from different directions. Common patterns include cardioid, omnidirectional, and figure-eight. Consider your stage setup and the sources of sound when selecting the right polar pattern.
- Frequency response: The frequency response of a condenser mic dictates the range of frequencies it can capture accurately. For vocals, you’ll typically want a mic with a flat and wide frequency response, while instrument miking may require a tailored response.
- Sensitivity and SPL handling: Sensitivity relates to how responsive the microphone is to sound, while SPL (Sound Pressure Level) handling determines its ability to handle loud sound sources without distortion. Ensure your chosen mic can handle the demands of your performance.
- Budget considerations: Condenser microphones come in a wide price range. While it’s tempting to go for the most expensive option, consider your budget and needs carefully. There are excellent mics available at various price points.
Dive into the following articles to find out which condenser microphones Best Quick Review recommends for Live: Best Condenser Mic Under $200 for Studio-Quality Sound
How to Use Condenser Mic for Live Performance

Now that you’ve acquired the perfect condenser microphone, it’s time to learn how to wield its power effectively on the live stage.
Proper microphone placement
Mic placement is an art that can make or break your live performance. For vocals, position the mic approximately 6 inches from your mouth, angled slightly downward.
Experiment with this distance to find the sweet spot that captures your voice’s full range without distortion.
Positioning for vocals
When it comes to singing, the microphone angle matters.
Angle the microphone slightly upward to reduce plosives (explosive sounds like ‘p’ and ‘b’) and sibilance (hissing sounds like ‘s’). Maintain a consistent distance and angle to ensure a uniform sound throughout your performance.
Instrument miking techniques
If you’re using a condenser mic to capture instruments, such as acoustic guitars or pianos, the microphone placement becomes even more critical.
Experiment with different positions to find the ideal balance between capturing the instrument’s natural sound and minimizing unwanted noise.
Connection options (XLR, phantom power)
Understanding the technical side of condenser microphones is essential for a seamless live performance. Most condenser mics use XLR connectors and require phantom power (usually +48V) to operate.
Ensure your audio setup includes these elements to power your mic and connect it to your sound system.
Using shock mounts and pop filters
To further enhance your live performance, consider using accessories like shock mounts and pop filters.
A shock mount isolates the microphone from vibrations and handling noise, ensuring a clean sound. A pop filter helps reduce plosives, allowing for smoother vocal delivery.
Discover essential information about using Condenser Mic for Karaoke in my article: Can I Use Condenser Mic for Karaoke? Singing in Clarity
Sound Check and Sound Engineering Tips
Conducting a Sound Check
Before you step into the spotlight, a thorough sound check is your best friend.
It ensures that your condenser microphone works harmoniously with the venue’s sound system. Here’s how to go about it:
- Check all connections: Ensure that your microphone is properly connected to the sound system using an XLR cable and that phantom power is activated if needed.
- Mic placement: Confirm that your microphone is correctly positioned, following the guidelines we discussed earlier.
- Feedback prevention: Be proactive in minimizing the potential for feedback by maintaining a reasonable distance from speakers and monitors.
Adjusting Microphone Gain Levels
Getting the gain levels right is crucial for a balanced and distortion-free performance.
Work closely with your sound engineer to find the optimal microphone gain settings that suit your voice or instrument.
Remember, it’s a delicate balance between capturing your sound and avoiding unwanted noise.
Monitoring Feedback
Feedback, the dreaded screeching sound that can disrupt your performance, is a real concern.
Keep an ear out for any signs of feedback during your sound check, and make necessary adjustments to prevent it from happening during your show.
Communicating with the Sound Engineer
Your sound engineer is your ally in delivering a top-notch performance. Establish clear communication before, during, and after your sound check.
Discuss any specific requirements or preferences you have, such as EQ settings or vocal effects.
Using Monitoring Systems
Monitoring systems, including in-ear monitors or stage wedges, can significantly enhance your live performance experience.
These systems allow you to hear yourself and the band clearly, enabling better synchronization and pitch control. Work with your sound engineer to ensure your monitor mix is just right.
Handling Feedback and Noise Issues
Identifying Common Feedback Problems
Feedback can be tricky to spot in the heat of the moment, but recognizing common issues can help you address them swiftly:
- Frequency peaks: High-pitched squeals or howling sounds often indicate feedback at specific frequencies. Identifying the problem frequency is the first step in mitigating it.
- Mic positioning: A sudden increase in feedback could signal that your microphone has moved or is too close to a speaker.
- Volume spikes: Be mindful of sudden bursts of loudness, as they may lead to feedback. Keep an eye on your distance from speakers and adjust your mic technique accordingly.
For a thorough understanding of Condenser Mic Be Used Live, peruse my articles: Can A Condenser Mic Be Used Live? Stage-Ready Sound
Techniques to Reduce Feedback
Now, let’s explore techniques to combat feedback and maintain a clean, uninterrupted performance:
- EQ Adjustments: Work with your sound engineer to identify and notch out problematic frequencies in your microphone’s EQ. Reducing these frequencies can help prevent feedback.
- Mic Placement Tweaks: If feedback persists, experiment with mic placement. Slight adjustments can make a world of difference in reducing feedback while preserving your sound quality.
- Dealing with Stage Noise and Ambiance: Sometimes, feedback can result from excessive stage noise or ambient sounds. Consider using noise-canceling techniques, such as acoustic panels or baffles, to create a more controlled performance environment.
Mic Technique and Performance Tips
Proper Microphone Handling
Mastering proper microphone handling is crucial for a polished live performance. Here’s what you need to know:
- Grip the mic correctly: Hold the microphone by its handle, avoiding contact with the grille. This prevents handling noise from transferring to the microphone.
- Maintain a consistent distance: Keep a steady distance between your mouth and the microphone to ensure consistent sound levels. This also helps reduce the risk of feedback.
Using Proximity Effect to Your Advantage
Condenser microphones can capture the magic of proximity effect. Embrace it to add depth and warmth to your performance. Move in closer to the microphone for a richer, fuller sound, and pull back for a cleaner, more neutral tone.
Emphasizing Dynamics and Expression
Live performances are all about connecting with your audience. Use the microphone to your advantage by varying your distance and angle to convey different emotions.
Get up close for an intimate whisper and step back for a powerful roar.
Your microphone can be your canvas for artistic expression.
Avoiding Plosives and Sibilance
To maintain vocal clarity, watch out for plosives (popping sounds caused by ‘p’ and ‘b’ consonants) and sibilance (hissing sounds from ‘s’ and ‘sh’ sounds).
Position the microphone slightly off-axis from your mouth and consider using a pop filter to mitigate these issues.
Maintenance and Care for Your Condenser Mic
Cleaning and Storage
Protect your condenser mic investment with proper maintenance:
- Clean the grille: Use a soft brush or microfiber cloth to remove dust and debris from the microphone grille. Avoid using harsh chemicals that could damage the microphone.
- Store in a case: When not in use, store your microphone in a protective case to shield it from dust and potential damage.
Avoiding Moisture and Extreme Temperatures
Condenser microphones are sensitive to moisture and extreme temperatures. Avoid performing in overly humid conditions or exposing your microphone to direct sunlight.
If condensation forms on the microphone, allow it to dry completely before use.
Protecting Your Microphone Investment
Consider investing in a shock mount and a sturdy microphone stand to reduce handling noise and protect your microphone from accidental falls.
These accessories not only improve sound quality but also extend the life of your microphone.
Troubleshooting Common Issues
Microphone Malfunction
If your microphone suddenly stops working, check the connections, including the XLR cable and phantom power.
Inspect the microphone for physical damage. If the issue persists, consult a professional technician for repairs.
Cable Problems
Faulty cables can lead to performance hiccups. Always carry spare XLR cables and test them before your performance.
If you encounter cable issues, switch to a reliable backup cable.
Phantom Power Issues
If your microphone requires phantom power and you experience issues, ensure that the phantom power source is active.
Check the cable connections and the microphone’s sensitivity settings. A malfunctioning power source may also be the culprit.
Recording Live Performances with Condenser Mics
Recording Equipment and Techniques
Recording your live performances allows you to capture the energy and emotion of the moment. Consider these tips:
- Quality recording equipment: Invest in a portable recorder or interface and connect it to your condenser mic. Ensure that your recording equipment is capable of capturing high-quality audio.
- Multi-track recording: Whenever possible, record each microphone source separately to have greater control during post-performance editing.
Capturing the Essence of a Live Performance
Live recordings should capture the essence of your performance. Embrace imperfections and spontaneity, as they add character to the recording.
Pay attention to crowd interaction and ambient sounds to recreate the live experience.
Post-Performance Audio Editing Tips
After your performance, take the time to edit and mix your live recording. Use software tools to balance audio levels, reduce noise, and enhance the overall quality.
Don’t overdo it; maintain the authenticity of the live performance.
FAQs About How to Use Condenser Mic for Live Performance
Should you use a dynamic or condenser microphone to perform a live show?
For live shows, it’s generally recommended to use a dynamic microphone.
They are more durable, handle high sound pressure levels, and are less sensitive to background noise, making them ideal for stage performances.
What not to do with a condenser microphone?
Avoid exposing a condenser mic to high SPLs (Sound Pressure Levels) as they can overload and distort.
Additionally, don’t subject it to extreme temperatures or humidity, which can damage the sensitive diaphragm.
How close to a condenser mic to sing?
When using a condenser mic, sing or speak within 6 to 12 inches (15-30 cm) from the microphone.
This distance allows for optimal capture of your voice without overloading the mic.
What type of microphone is best for live performance?
Dynamic microphones are the preferred choice for live performances due to their durability, feedback resistance, and ability to handle loud sound sources on stage.
What type of mic pattern works best for live performances?
For live performances, cardioid microphones are often preferred.
They capture sound mainly from the front while rejecting noise from the sides and rear, reducing feedback and background noise.
What are the pros and cons of a condenser microphone?
Pros: Condenser mics offer superior audio quality, sensitivity, and a wide frequency range, making them great for studio recording.
Cons: They are more fragile, require phantom power, and can pick up unwanted background noise in live settings.
What is the advantage of a condenser mic?
Condenser microphones excel in capturing detail and nuance in sound.
They are ideal for studio recording, offering a wider frequency response and greater sensitivity compared to dynamic mics.
Why are cardioid microphones good for live performances?
Cardioid microphones are well-suited for live performances because they focus on capturing sound from the front while minimizing pickup from the sides and rear.
This directional pattern helps reduce feedback and unwanted noise, enhancing audio clarity on stage.
Final Thoughts About How to Use Condenser Mic for Live Performance
In the world of live performance, mastering the art of using a condenser microphone is a game-changer.
These sensitive devices have the power to transform your vocals and instrumentals into a sonic masterpiece.
From choosing the right mic to handling feedback with finesse, it’s a journey of skill and precision.
Proper technique, coupled with diligent care and maintenance, ensures your microphone remains your steadfast ally on stage.
And when you venture into recording your live performances, you immortalize the magic of the moment.
So, embrace the condenser microphone, unleash your creativity, and let your live performances resound with clarity, emotion, and unforgettable impact.
