
Getting ready to host a live event, record a podcast, or set up a home studio? One crucial aspect you must not overlook is learning how to connect wireless microphone receiver to mixer.
This process may seem daunting at first, but with the right guidance, it can be a breeze.
In this article, we will provide a comprehensive guide on connecting a wireless microphone receiver to a mixer, as well as other useful tips for setting up a wireless microphone system.
Understanding Wireless Microphone Receivers
Before we jump into the process, it’s essential to understand what a wireless microphone receiver is.
A wireless microphone receiver is a device that receives the audio signals transmitted by a wireless microphone.
This receiver is connected to an audio mixer or a sound system to amplify and broadcast the sound.
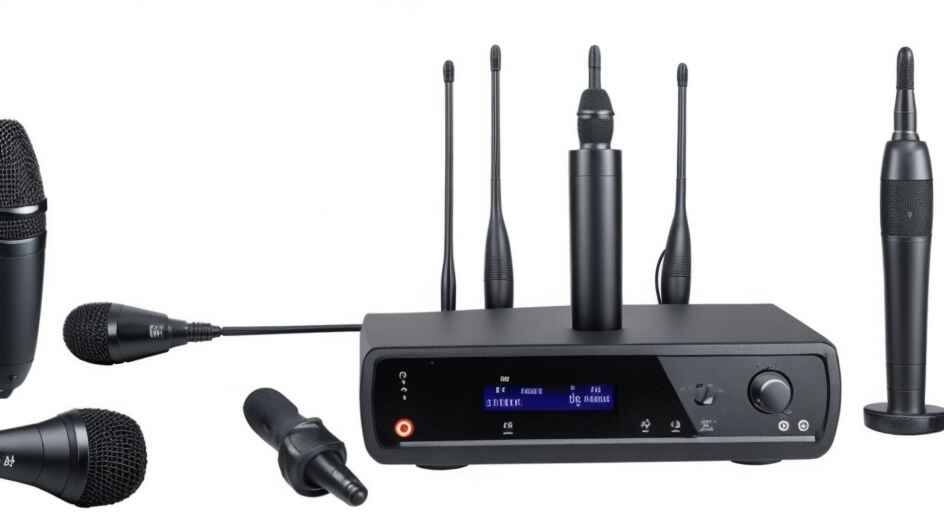
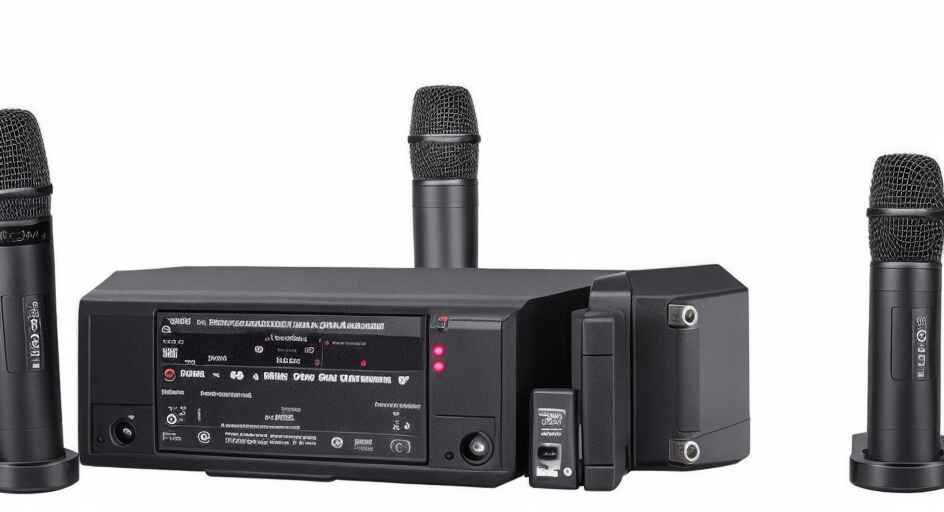
A wireless microphone system typically consists of three main components: the microphone, the transmitter, and the receiver.
Necessary Components for a Wireless Microphone System
To set up a wireless microphone system, you will need a few essential components:
- Wireless Microphone: This is the microphone that captures the sound. It is connected to the transmitter, which is usually built into the microphone or connected via a cable.
- Transmitter: This device takes the audio signal captured by the microphone and converts it into a radio frequency (RF) signal. It then transmits this signal to the wireless receiver.
- Wireless Receiver: This is the device that receives the RF signal transmitted by the transmitter. It then converts the RF signal back into an audio signal that can be amplified and broadcasted by the sound system.
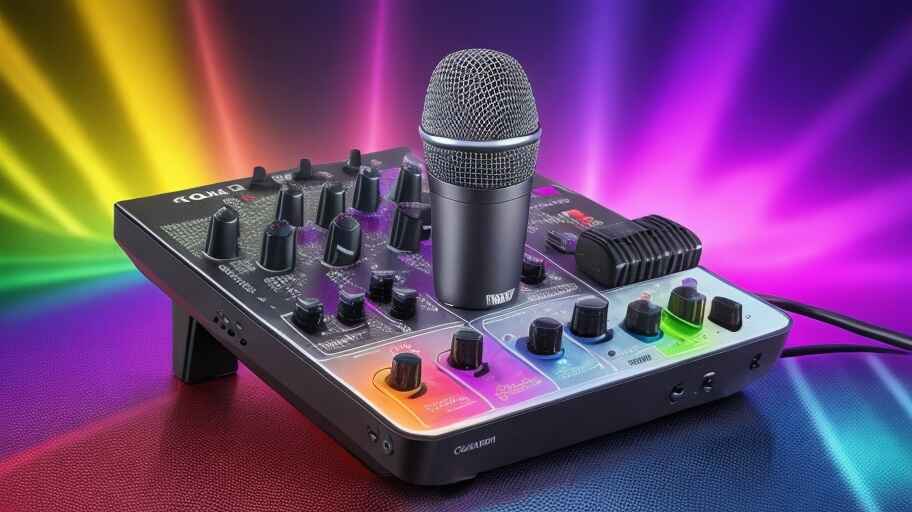
- Mixer: This is a device that combines multiple audio signals into a single output signal that can be amplified and broadcasted by the sound system.
- Speakers: These are the devices that amplify and broadcast the sound to the audience.
- Cables and Connectors: These are used to connect the various components of the wireless microphone system.
Selecting and Using Batteries in Wireless Microphone Systems
One of the most critical aspects of using a wireless microphone system is the batteries.
The transmitter and receiver are usually powered by batteries. It’s essential to use high-quality batteries and to check them before the event.
Here are some tips for choosing and using batteries in wireless microphone systems:
- Choose High-Quality Batteries: Use alkaline or lithium batteries as they provide a steady voltage and last longer.
- Check Battery Life: Make sure the batteries are fully charged before the event.
- Carry Spare Batteries: Always have a set of spare batteries on hand.
- Check Battery Connections: Make sure the batteries are correctly inserted into the devices.
- Turn Off Devices When Not in Use: To conserve battery life, turn off the devices when they are not in use.
How to Connect Wireless Microphone Receiver to Mixer: A Step-by-Step Guide
Now that we understand the components needed and have our batteries sorted, let’s go through the steps to connect a wireless microphone receiver to a mixer.
Step 1: Determine the Type of Input Connectors on the Mixer
The first step is to determine the type of input connectors on the mixer. Most mixers have either XLR or 1/4 inch (6.35 mm) input connectors.
Some mixers have both types of input connectors. Check the mixer’s user manual or look at the back panel of the mixer to determine the type of input connectors.
Step 2: Connect the Wireless Microphone Receiver to the Mixer
The next step is to connect the wireless microphone receiver to the mixer.
Use an appropriate cable to connect the audio output of the wireless receiver to an input channel on the mixer.
Most wireless receivers have either XLR or 1/4 inch (6.35 mm) audio output connectors. Use a cable with the appropriate connectors for your mixer and receiver.
Step 3: Connect the Speakers to the Mixer
Connect the speakers to the mixer. Use appropriate cables to connect the mixer’s main output to the speakers’ input.
Most mixers have either XLR or 1/4 inch (6.35 mm) main output connectors.
Some speakers have both types of input connectors. Use a cable with the appropriate connectors for your mixer and speakers.
Step 4: Turn on the Mixer and the Wireless Receiver
Turn on the mixer and the wireless receiver. Make sure the power LED on the mixer and the receiver light up.
This indicates that the devices are powered on and functioning correctly.
Step 5: Adjust the Levels on the Mixer
The final step is to adjust the levels on the mixer. This step is crucial for achieving the best sound quality.
Here are some tips for adjusting the levels on the mixer:
- Set the Gain: The first step is to set the gain on the mixer. The gain controls the sensitivity of the mixer’s input. Turn the gain knob until the signal level on the mixer’s meter reaches the 0 dB mark.
- Adjust the EQ: Use the equalization (EQ) controls on the mixer to adjust the tone of the sound. Most mixers have three EQ controls: low (bass), mid (midrange), and high (treble).
- Set the Fader: The fader controls the level of the sound that is sent to the main output. Adjust the fader until the sound level is appropriate for the venue.
- Check for Feedback: Feedback is a loud, high-pitched squeal that occurs when the microphone picks up sound from the speakers. To avoid feedback, do not point the microphone at the speakers and do not set the gain or the fader too high.
- Test the System: Before the event starts, do a soundcheck to make sure everything is working correctly. Ask someone to speak into the microphone while you adjust the levels on the mixer. Make any necessary adjustments to the gain, EQ, and fader.
And there you have it! You have successfully connected a wireless microphone receiver to a mixer.
Remember, the key to a successful event is preparation. Make sure all your equipment is working correctly, and always have spare batteries and cables on hand.
How to Connect a Wireless Microphone Receiver to Different Devices
In the modern world, technology has made it possible to connect devices in ways that were once thought impossible.
One such device that has benefited from these advancements is the wireless microphone.
This versatile tool can be connected to various devices, enhancing its usability in different scenarios.
Let’s explore how to connect a wireless microphone receiver to different devices.
Connecting to an Amplifier
- Check the Connections: Ensure that both your amplifier and wireless microphone receiver have compatible connectors. Most wireless microphone receivers have a balanced XLR output and an unbalanced 1/4 inch output.
- Connect the Devices: Connect the output of the wireless microphone receiver to the input of the amplifier using the appropriate cable.
- Power Up: Turn on the amplifier and the wireless microphone receiver. Make sure that the transmitter and the receiver are set to the same frequency.
- Adjust the Volume: Adjust the volume on the amplifier to the desired level.
Connecting to a Karaoke System
- Check the Connections: Ensure that your karaoke system has an input for a microphone. This is usually a 1/4 inch or XLR input.
- Connect the Devices: Connect the output of the wireless microphone receiver to the microphone input of the karaoke system using the appropriate cable.
- Power Up: Turn on the karaoke system and the wireless microphone receiver. Make sure that the transmitter and the receiver are set to the same frequency.
- Adjust the Volume: Adjust the microphone volume on the karaoke system to the desired level.
Connecting to Smartphones
- Check Compatibility: Ensure that your smartphone has a headphone jack or an adapter that allows for an external microphone to be connected.
- Get an Adapter: You will need an adapter that converts the output of the wireless microphone receiver to a 3.5mm TRRS plug.
- Connect the Devices: Connect the output of the wireless microphone receiver to the adapter, and then plug the adapter into the headphone jack of your smartphone.
- Set Up: Open the audio recording app on your smartphone and select the external microphone as the audio input.
Connecting to a Laptop
- Check the Connections: Ensure that your laptop has a microphone input or a headphone jack that also serves as a microphone input.
- Connect the Devices: Connect the output of the wireless microphone receiver to the microphone input or headphone jack of your laptop using the appropriate cable.
- Set Up: Go to the audio settings on your laptop and select the external microphone as the audio input.
Connecting to a TV
- Check the Connections: Ensure that your TV has an audio input. This is usually an RCA or 3.5mm input.
- Connect the Devices: Connect the output of the wireless microphone receiver to the audio input of your TV using the appropriate cable.
- Set Up: Go to the audio settings on your TV and select the external microphone as the audio input.
Can I Use My Wireless Microphone with Any Receiver?
It is not recommended to use a wireless microphone with a receiver from a different brand or model.
Most wireless microphones and receivers are designed to work together as a system, and using them with other brands or models may result in compatibility issues or suboptimal performance.
Benefits of a Wireless Microphone
- Freedom of Movement: Wireless microphones give you the freedom to move around without being restricted by a cable. This is especially useful for performers, speakers, or presenters who need to move around the stage or venue.
- Reduced Clutter: Without the need for long cables running across the floor, wireless microphones help reduce clutter and tripping hazards.
- Easy Setup: Wireless microphones are easy to set up and do not require any special tools or technical knowledge.
- mproved Sound Quality:I Wireless microphones often have better sound quality compared to wired microphones. This is because they do not pick up electrical interference from other devices or cables.
By understanding how to connect your wireless microphone receiver to various devices, you can maximize its utility and make the most out of your investment.
Remember to always check the connections and settings on your devices to ensure that everything is set up correctly.
FAQs About How to Connect Wireless Microphone Receiver to Mixer
How do I set up my wireless microphone receiver?
Setting up a wireless microphone receiver involves connecting the receiver to a sound system or recording device, turning on the microphone and the receiver, and then synchronizing them to communicate on the same frequency.
How do I connect my mic to my audio mixer?
To connect your microphone to an audio mixer, you will typically use an XLR cable.
Connect one end of the XLR cable to the microphone and the other end to the ‘mic’ input on the mixer. Make sure to match the input and output levels.
Can you connect a wireless mic to an audio interface?
Yes, you can connect a wireless microphone to an audio interface.
You will need to connect the wireless microphone receiver’s output to the audio interface’s input using an appropriate cable, typically an XLR or a 1/4 inch jack.
Does a wireless mic need a receiver?
Yes, a wireless microphone does need a receiver.
The microphone transmitter sends the audio signal wirelessly to the receiver, which then converts it back into an audio signal that can be input into a sound system or recording device.
What does a wireless mic connect to?
A wireless microphone connects to a wireless microphone receiver.
This receiver then converts the wireless signal back into an audio signal, which can be connected to various devices such as a mixer, audio interface, or sound system.
How do I make my microphone audio output directly to speakers?
To make your microphone audio output directly to speakers, you will need to connect your microphone to an amplifier or a mixer connected to an amplifier, and then connect the amplifier to the speakers.
How do wireless microphones connect to speakers?
Wireless microphones connect to speakers by first connecting the wireless microphone receiver to a mixer or an amplifier, and then connecting the mixer or amplifier to the speakers.
What is the mic line switch on a mixer?
The mic/line switch on a mixer is used to select the input level of the connected device.
The ‘mic’ setting is for connecting microphones and other low-level devices, while the ‘line’ setting is for connecting line-level devices like CD players or keyboards.
What frequency is a wireless mic receiver?
Wireless microphone receivers can operate on various frequencies, but they typically operate in the UHF (ultra-high-frequency) band, which ranges from 300 MHz to 3 GHz.
It is essential to select a frequency that does not interfere with other devices in your location.
Conclusion
Connecting a wireless microphone receiver to a mixer is an essential skill for anyone involved in live events, recording sessions, or setting up a home studio. It may seem complex, but with the right tools and a bit of practice, it becomes straightforward.
Remember to determine the type of connectors on your mixer, have the necessary cables, use high-quality batteries, and adjust the levels carefully to avoid distortion.
By following the steps outlined in this guide, you can ensure a smooth and professional-sounding setup for your wireless microphone system.