
Ever wondered how to clean a microphone capsule without turning it into a breeding ground for germs and unwanted noises?
We’ve got the secret sauce to make your mic sparkle and your vocals shine! Stay tuned for a cleaner, crisper sound!
Why Clean Your Microphone Capsule?
A microphone capsule may appear sturdy, but its sensitivity to contaminants can’t be overstated.
Here, we’ll uncover the compelling reasons behind the meticulous care and cleaning required for this integral component.
From a sonic perspective, a dirty microphone capsule can lead to muddled recordings, compromised clarity, and unwanted background noise.
Imagine capturing a delicate piano melody or the nuances of a singer’s voice, only to have it marred by dust and grime.
Cleanliness is, therefore, the foundation of pristine audio capture.
Neglecting the cleanliness of your microphone capsule can result in several issues, including:
- Frequency Response Alteration: Contaminants on the capsule’s diaphragm can disrupt its ability to respond accurately to different frequencies. This leads to an uneven sound, making your recordings sound less professional.
- Increased Noise: Dust and debris can introduce unwanted noise into your recordings, diminishing their quality and making post-production efforts more challenging.
- Microphone Durability: Regular cleaning prolongs the life of your microphone by preventing corrosion and wear caused by built-up dirt and moisture.
When Should You Clean Your Microphone Capsule?
Knowing when to embark on a cleaning mission is as crucial as knowing how.
Here, we’ll explore the signs that indicate it’s time to give your microphone capsule some TLC, as well as the recommended cleaning frequency.
Signs Your Microphone Capsule Needs Cleaning
- Muffled Sound: If your recordings suddenly sound muffled or lack clarity, it’s a sign that dust or debris might have settled on your microphone capsule.
- Increased Noise: A spike in background noise, even in a controlled environment, could indicate the presence of contaminants on your capsule’s diaphragm.
- Inconsistent Performance: When your microphone starts behaving erratically, picking up sound unevenly or losing sensitivity, it’s a red flag for capsule cleaning.
Recommended Cleaning Frequency
The ideal cleaning frequency depends on usage. For professional studios or frequent users, a thorough cleaning every few weeks is advisable.
For occasional use or home studios, once every few months should suffice. Trust your ears; if you notice a decline in audio quality, it’s time for a cleanup.
How to Clean a Microphone Capsule?
How to Clean a Microphone Capsule
Cleaning your microphone capsule is essential for maintaining optimal audio quality.
In this section, we’ll walk you through the step-by-step process of cleaning your microphone capsule effectively and safely.
Gather Your Cleaning Supplies
Before you begin the cleaning process, it’s crucial to gather the necessary cleaning supplies. Here’s what you’ll need:
- Isopropyl Alcohol: This high-purity alcohol serves as the primary cleaning agent, dissolving contaminants without damaging the capsule.
- Cotton Swabs: Precise and gentle, these help in reaching the nooks and crannies of the capsule.
- Compressed Air: An effective way to remove loose particles, compressed air should be used cautiously to prevent moisture buildup.
- Microfiber Cloth: For wiping down the exterior of the microphone and ensuring a final polish.
- Latex or Nitrile Gloves: Protect the capsule from oil and dirt on your hands.
Importance of Using the Right Tools
Using the correct cleaning supplies is crucial to avoid damaging the delicate components of your microphone capsule.
Isopropyl alcohol, for instance, is a safe choice because it evaporates quickly without leaving residue. Avoid using abrasive materials or household cleaning products, as they can harm the capsule.
Power Off and Disconnect the Microphone
Safety should always be a priority when cleaning your microphone capsule. Here are the steps to follow:
- Turn Off the Microphone: Ensure that your microphone is disconnected from any power source or audio interface before cleaning. This step prevents electrical accidents.
- Unplug Cables: Remove any cables or connections from the microphone. This further minimizes the risk of accidental electrical shocks during the cleaning process.
Remove the Windscreen and Pop Filter
To access the microphone capsule for cleaning, you’ll often need to remove the windscreen and pop filter. Here’s how to do it safely:
- Windscreen: Gently twist or pull off the windscreen from the microphone. Avoid using excessive force to prevent damage.
- Pop Filter: If your microphone has a pop filter, detach it carefully following the manufacturer’s instructions. Handle it delicately to avoid any deformation or tearing.
Brush Away Loose Debris
Before using any cleaning solutions, it’s essential to remove loose debris from the microphone capsule. Here’s how to do it:
- Soft Brush or Compressed Air: Use a soft brush or compressed air to gently remove dust and debris from the capsule’s surface. Avoid applying excessive pressure to prevent any damage.
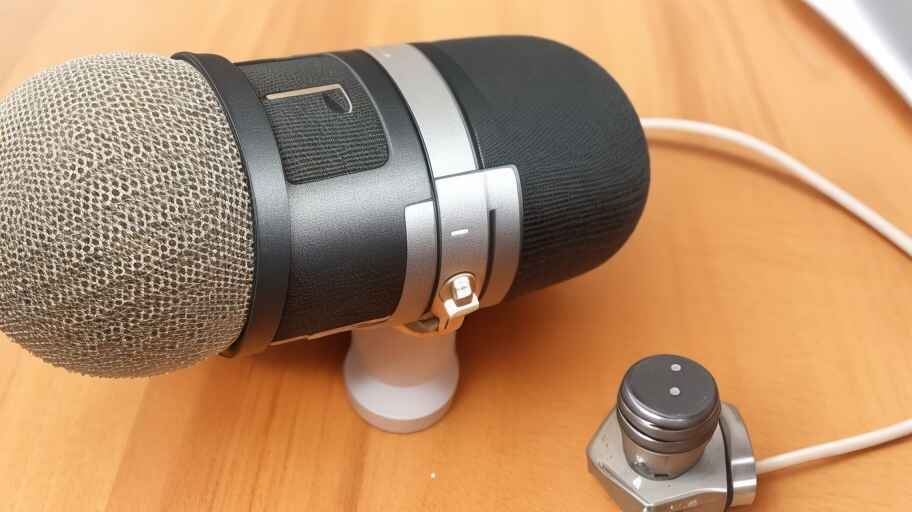
Cleaning the Exterior Surface
The microphone’s exterior can also accumulate dirt and grime. Here’s how to clean it:
- Damp Cloth: Dampen a microfiber cloth with a mild cleaning solution or isopropyl alcohol. Gently wipe down the microphone’s exterior surface, including the body and handle. Be cautious not to let moisture enter the capsule.
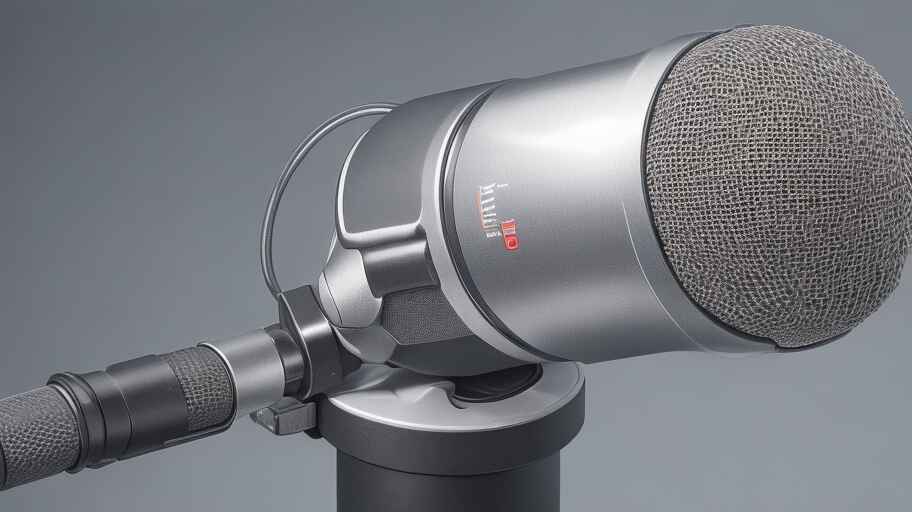
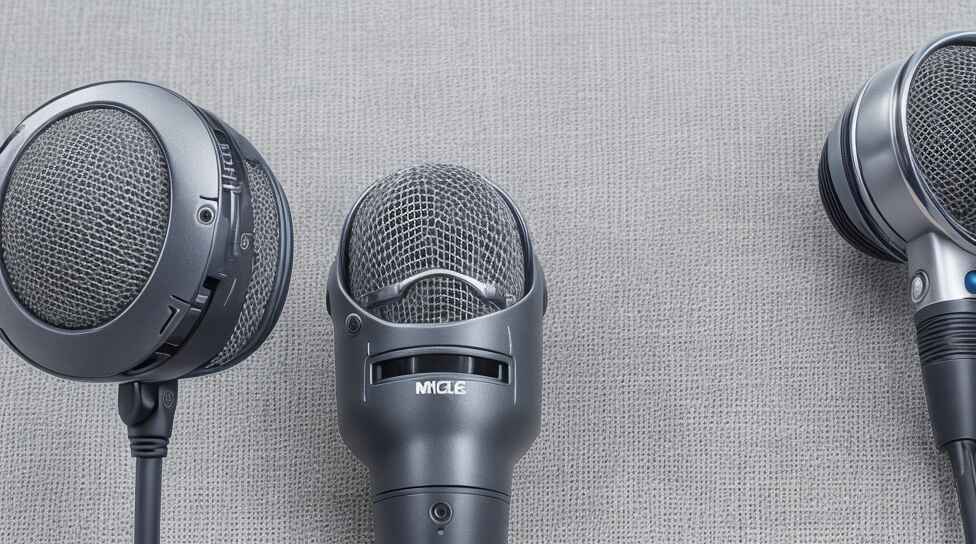
Cleaning the Microphone Grille
The grille is a crucial part of your microphone’s design. Here’s how to clean it effectively:
- Inspect the Grille: Examine the grille for dirt or debris. If needed, use a soft brush or compressed air to remove any particles.
- Mild Cleaning Solution: If the grille requires more extensive cleaning, dampen a cotton swab with a mild cleaning solution or isopropyl alcohol. Gently clean the grille, avoiding excessive force to prevent damage.
Cleaning the Microphone Capsule
Cleaning the microphone capsule itself requires extreme caution. Here’s how to do it:
- Specialized Microphone Cleaning Solution: Use a specialized microphone cleaning solution or isopropyl alcohol sparingly on a cotton swab. Gently clean the capsule’s diaphragm in a circular motion. Be extremely careful not to apply pressure or touch the diaphragm with your fingers.
Gain valuable knowledge on getting water out of a microphone through my article: How To Get Water Out of Microphone? Rescue Your Mic
Let It Dry
After cleaning, it’s crucial to allow the microphone to dry completely before reassembly. Here’s why and how:
- Importance of Drying: Moisture can damage the capsule and affect its performance. Proper drying ensures that your microphone functions optimally.
- Drying Time: Allow the microphone to air dry for at least an hour or as per the manufacturer’s recommendations.
Reassemble the Microphone
Once the microphone is dry, it’s time to reassemble it. Here’s how to put back the windscreen, pop filter, and any other removed components:
- Windscreen and Pop Filter: Carefully attach the windscreen and pop filter back onto the microphone following the manufacturer’s instructions. Ensure they are securely in place.
Perform a Sound Test
Before returning to your recording tasks, it’s essential to perform a sound test to ensure your microphone is working correctly. Here’s how:
- Connect the Microphone: Reconnect the microphone to your audio interface or recording equipment.
- Test Recording: Record a brief sample and listen for any issues such as distortion, increased noise, or changes in sound quality.
- Monitor Performance: Pay attention to any changes in the microphone’s performance compared to before cleaning. If you detect any problems, revisit the cleaning process or seek professional assistance.
By following these steps and taking the necessary precautions, you can ensure that your microphone capsule remains in optimal condition, allowing you to capture pristine audio for all your recording endeavors.
Maintenance Tips for Microphone Capsules
Regular Cleaning Schedule
Maintaining your microphone capsule involves more than just occasional cleaning.
Here, we’ll delve into the importance of establishing a regular cleaning schedule and the benefits it brings.
How Often Should You Clean Your Microphone Capsule?
The frequency of cleaning your microphone capsule depends on your usage and environment.
However, establishing a consistent schedule is vital. For professional studios or frequent users, a thorough cleaning every few weeks is advisable. For occasional use or home studios, once every few months should suffice.
Importance of Consistency
Consistency is key when it comes to microphone capsule maintenance.
Regular cleaning not only ensures that your microphone continues to deliver top-notch audio quality but also extends its lifespan.
Over time, contaminants can accumulate and become more challenging to remove. By cleaning regularly, you prevent these issues from arising in the first place.
Storage and Protection
Microphone capsule care goes beyond cleaning; proper storage and protection play a significant role.
Here are some valuable tips on how to safeguard your microphone when it’s not in use.
Tips on Storing the Microphone
- Cover It Up: When your microphone is not in use, consider using a microphone cover or windscreen. These accessories can shield the capsule from dust and debris, reducing the need for frequent cleaning.
- Store in a Case: If your microphone didn’t come with a dedicated case, invest in one. A sturdy microphone case provides an extra layer of protection, especially during transport.
- Vertical Position: Store your microphone vertically to prevent dust from settling on the diaphragm. This position also minimizes the risk of accidental damage when handling or moving the microphone.
Use of Microphone Covers or Cases
Microphone covers and cases are valuable investments for the protection of your microphone capsule. They:
- Shield the capsule from dust, moisture, and physical damage.
- Maintain the microphone’s appearance by preventing scratches and dings.
- Simplify transportation and storage, ensuring your microphone is always ready for use.
Avoiding Harsh Cleaning Agents
While cleaning your microphone capsule is essential, it’s equally crucial to do it the right way.
Here, we’ll discuss the potential pitfalls of using harsh cleaning agents and why you should opt for approved solutions.
Warning Against Harsh Chemicals or Excessive Moisture
Harsh cleaning agents such as abrasive chemicals or excessive moisture can harm your microphone capsule.
They can lead to corrosion, diaphragm damage, or the degradation of other delicate components.
Recommendation: Approved Cleaning Solutions
To clean your microphone safely, stick to approved cleaning solutions and methods. Isopropyl alcohol, with its gentle yet effective cleaning properties, is a popular choice.
It evaporates quickly, leaving no residue and minimizing the risk of damage. Always use a minimal amount of cleaning solution to avoid excess moisture.
FAQs About How to Clean a Microphone Capsule
How do I know if my microphone capsule is broken?
If your microphone capsule is broken, you may notice distorted or muffled audio, inconsistent volume levels, or complete silence.
To test, try a different microphone and see if the issue persists.
How do you clean a microphone body?
To clean a microphone body, use a soft, lint-free cloth lightly dampened with a mixture of water and isopropyl alcohol (70%).
Gently wipe the surface, avoiding excessive moisture, and allow it to air dry.
How do you clean a dusty condenser microphone?
For a dusty condenser microphone, use a small, soft brush or compressed air to remove loose dust. Then, follow the microphone body cleaning steps mentioned above.
How do you clean a microphone basket?
To clean a microphone basket, remove the microphone from its stand and carefully use a brush or compressed air to dislodge dust and debris.
Wipe it gently with a cloth if needed.
What does a blown ribbon mic sound like?
A blown ribbon microphone may produce distorted, crackling, or excessively noisy audio.
It might lose sensitivity or exhibit erratic behavior, indicating damage to the delicate ribbon element.
How many years does a microphone last?
The lifespan of a microphone varies depending on usage and maintenance.
High-quality microphones can last for decades with proper care, while lower-end models may wear out sooner. Regular maintenance extends their life.
Can dust ruin a microphone?
Yes, dust can potentially ruin a microphone. Dust particles can accumulate on the diaphragm or inside the microphone, affecting sound quality and performance.
Regular cleaning and storage in a protective case can prevent this.
How do I make my mic sound crystal clear?
To achieve crystal-clear audio, use a pop filter to reduce plosive sounds, position the microphone correctly, use quality cables, and apply post-processing filters like noise reduction and equalization during recording and editing.
Can you use Clorox wipes on a microphone?
Avoid using Clorox wipes or any harsh chemicals on a microphone as they can damage the finish and sensitive components.
Stick to mild cleaning solutions like water and isopropyl alcohol.
What is the fuzzy thing over a microphone?
The fuzzy thing over a microphone is called a windscreen or foam cover.
It helps reduce wind noise, plosives, and breath sounds when recording outdoors or in noisy environments.
What not to do with a mic?
Avoid dropping or mishandling a microphone, exposing it to extreme temperatures or humidity, blowing into it, or tapping it.
Also, never wrap cables tightly around the microphone, as this can damage the cable and connectors.
Final Thoughts About How to Clean a Microphone Capsule
In the realm of audio, a pristine microphone capsule is the gateway to sonic perfection. Regular cleaning, a consistent schedule, and proper storage are the cornerstones of capsule care.
By heeding these maintenance tips and avoiding harsh cleaning agents, you not only safeguard your microphone’s longevity but also ensure it consistently delivers impeccable audio quality.
So, embrace the art of capsule maintenance, and let your microphone capture the nuances of sound in all their brilliance.
Whether you’re a seasoned professional or an enthusiastic audiophile, the journey to optimal audio quality begins with a clean and well-maintained microphone capsule.